Smoked Boston butt

A long time ago, when I was a small girl, there were a few truths about summer.  Swimming was an everyday activity.  Staying up late (until it was dark!) was not a problem.  Each morning began with a promise of fun.  And fathers grilled burgers over hot and shooting flames until the outsides were crisp and smokey and the insides were dry.  That’s what catsup’s for, isn’t it?

A few years ago my husband decided, in summer,  that he wanted to grill better.  Swimming still happens.  Staying up late is still available.  But my husband wanted to combine grilling with fun (and deliciousness)!

He says the key to good grilling is paying attention.  That’s how this started.  He paid attention and burgers were juicy and chicken was moist. Why even pork chops were completely delicious!  So when he wanted to get a new grill (full disclosure…we do charcoal.) I said sure!  So he studied and researched and decided on a fancy name brand kettle grill.  And the grilling improved exponentially.  I don’t think it was the grill, I think the griller was paying even more attention than before.IMG_6485

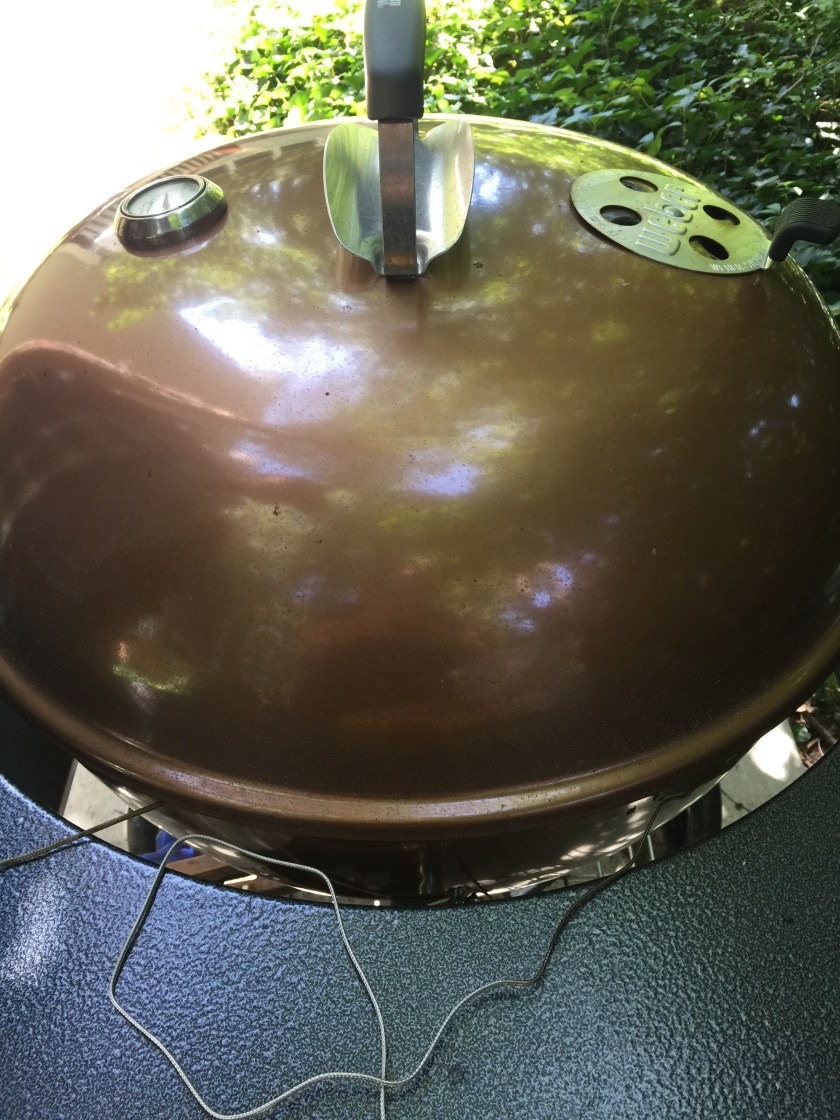
After a while of regular grilling and learning about the cool side and hot side of a grill.  That’s where only half the grill has a coals.  Husband decided he to purchase a modification for the grill that would allow the kettle to be a smoker.

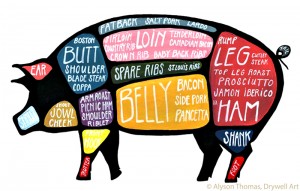
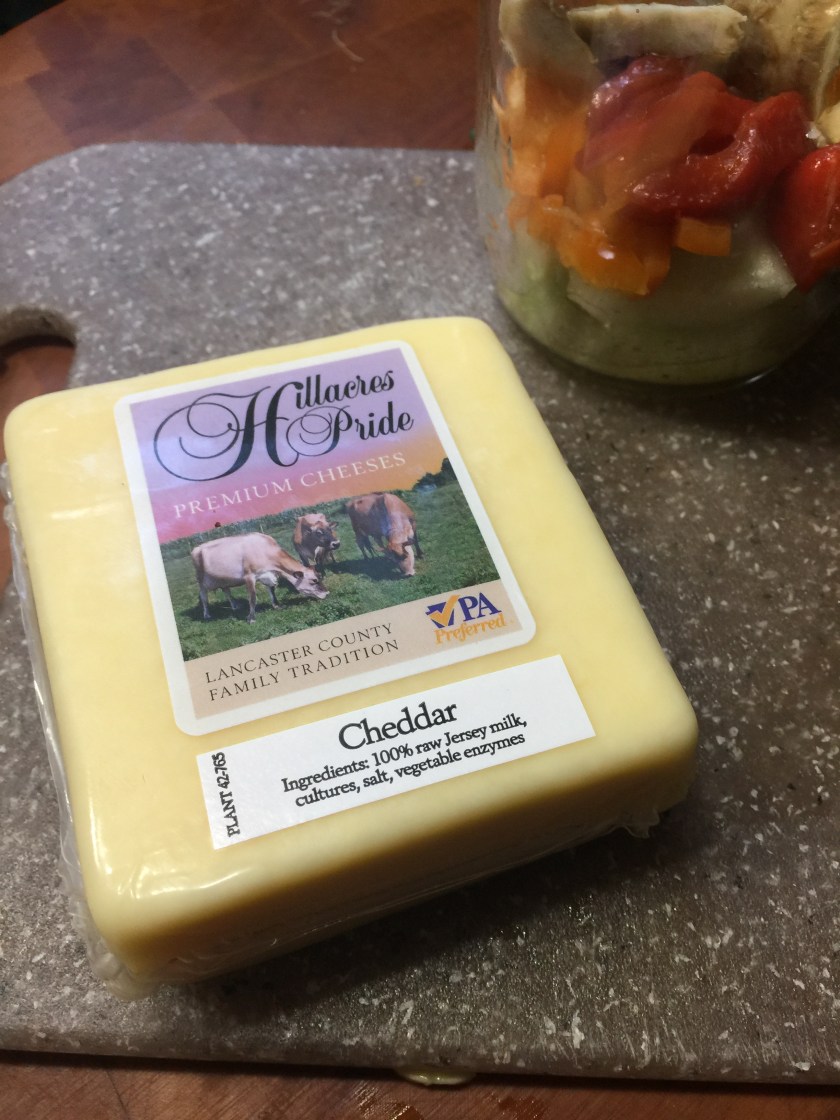
Recently I purchased a four pound Boston butt pork roast from Hillacres Pride Farm stand at the Collingswood Farmers’ Market.  Their meats and poultry (lamb, pork, beef, chicken) are pasture raised and grass fed.  Their pork is consistently delicious.

First, the dry brine.  The meat was sprinkled with Kosher coarse salt on all sides and placed in a container overnight.  I made a snake of aluminum foil to place under the meat so it could stay out of the juice and  dry properly.

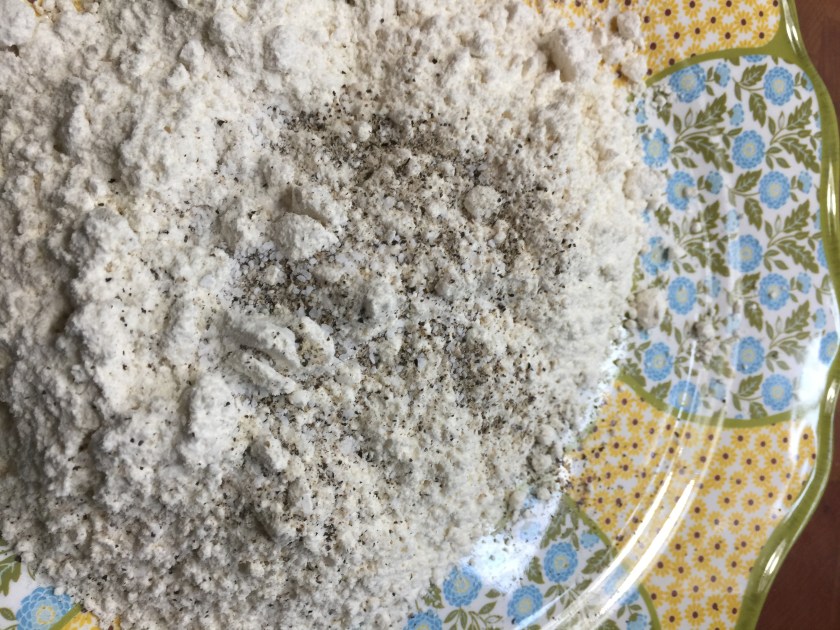
Early the next morning the grill was lit and the smoking apparatus was in place.  Next I dried the meat with a paper towel and sprinkled on the rub.  We chose one that was already mixed.  We chose it by smell.  The rub should be something you would like to eat as its flavors permeate the meat and make the crust around the roast (called the “bark”).

Two other pieces of equipment that are essential to the smoking process are thermometers.  One thermometer monitors the temperature  inside the kettle with the lid on.  This is your oven.  The other measures the internal temperature of the meat as it cooks.

The fire itself is made from charcoal briquettes and two or three pieces of wood are added.  We added hickory chunks.

The meat was placed on the grill.  The thermometers were set up.  The lid was put on.  And then we waited.

Four hours after the meat was put in the grill the “bark” started to form.  The “oven” temperature was stable at 225 degrees Fahrenheit.  The internal temperature of the meat was 160 degrees Fahrenheit.  We want the “oven” temperature to be stable and we, ultimately want the meat to register around 200 degrees Fahrenheit.IMG_6368

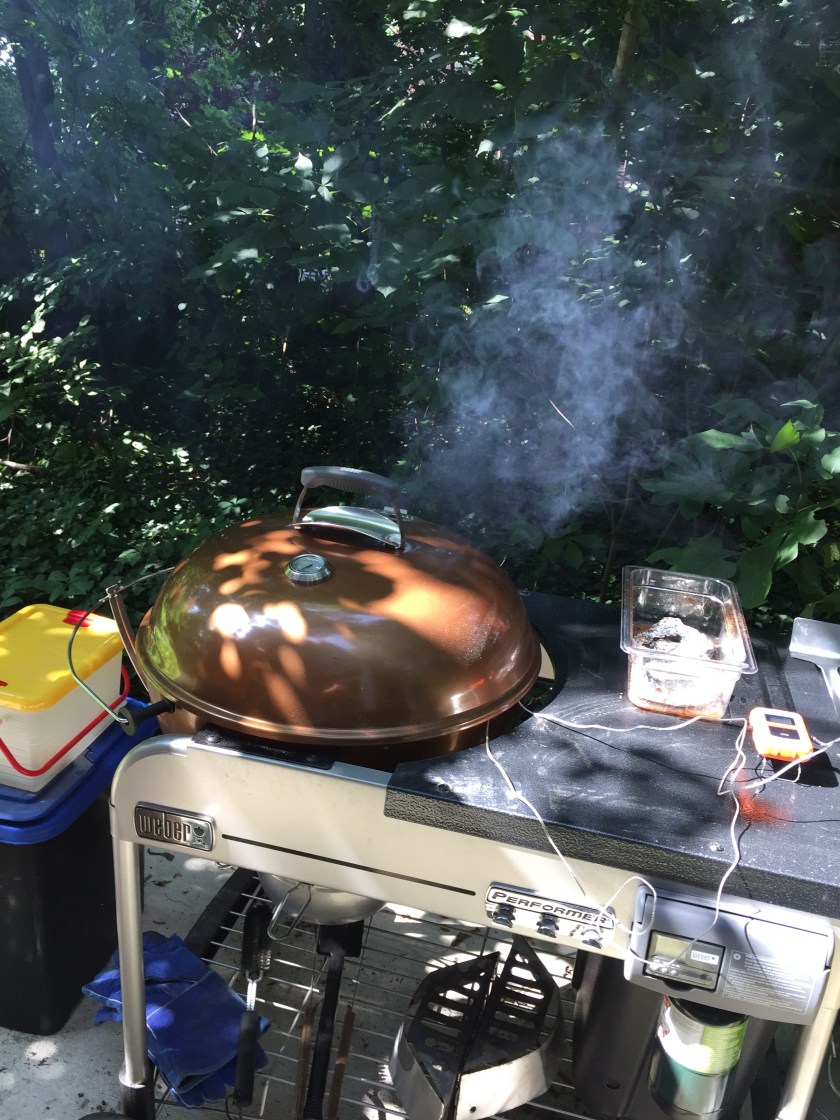
Boston butt is not an expensive cut of meat.  It has marbled fat.  And, as I said earlier, Hillacres Pride pork is consistently delicious and tender.IMG_6484

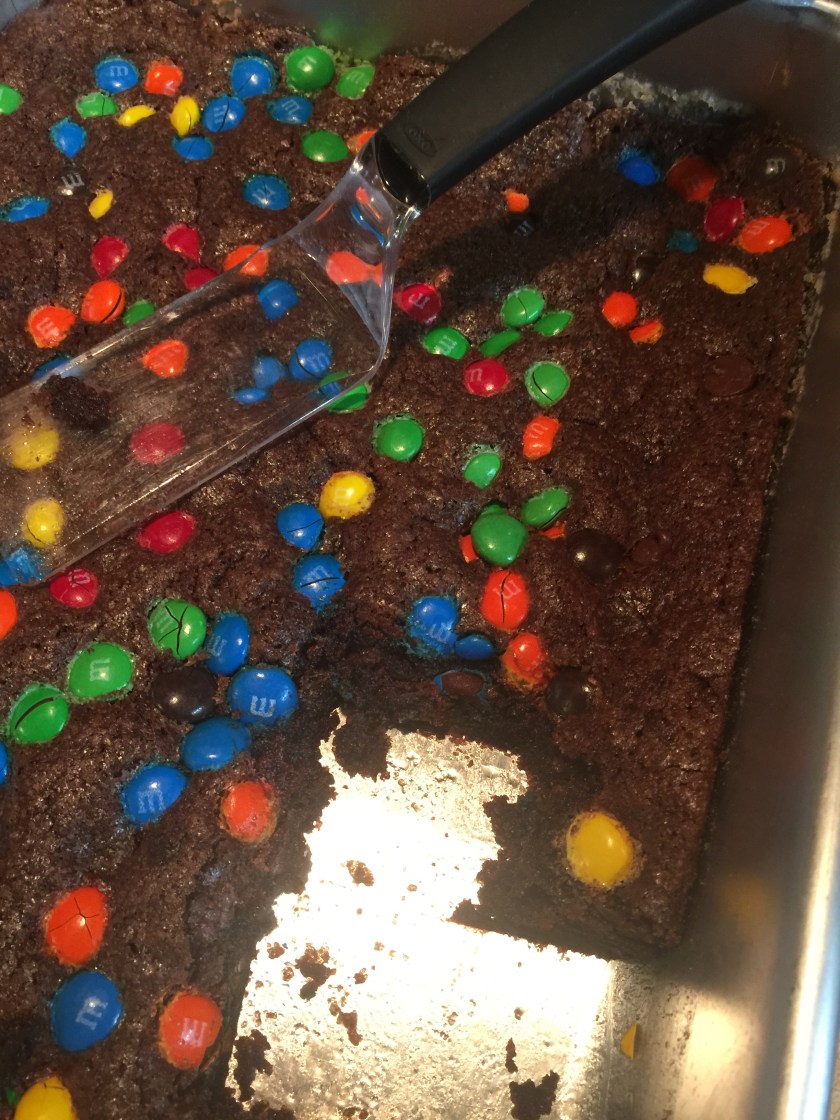
All day the aroma from the grill filled our yard and porch.  The sides were easy.  Cole slaw and baked beans.  And some brioche rolls from Wild Flour Bakery, also at the Collingswood Farmers’ Market.

Nine and one half hours later the butt reached the goal internal temperature of 203 degrees Fahrenheit.  Husband took the pork off the grill.  I pulled it apart.  And we ate the most delicious, moist, flavorful pulled pork we’d ever tasted.  The bark was magnificent!


The meat and bark were delicious on their own.  We added some Apple Butter Barbecue sauce from Schoeber’s Farm.  The next level!

There was enough to share so both daughters and their families enjoyed as well (even the three year old like it!) ….and I even had enough for sandwiches!

If you are a fan of smoked meats or if you want to try this yourself, I encourage you to use good quality meat…like that from Hillacres Pride.
196485753-pork_lg-300x191

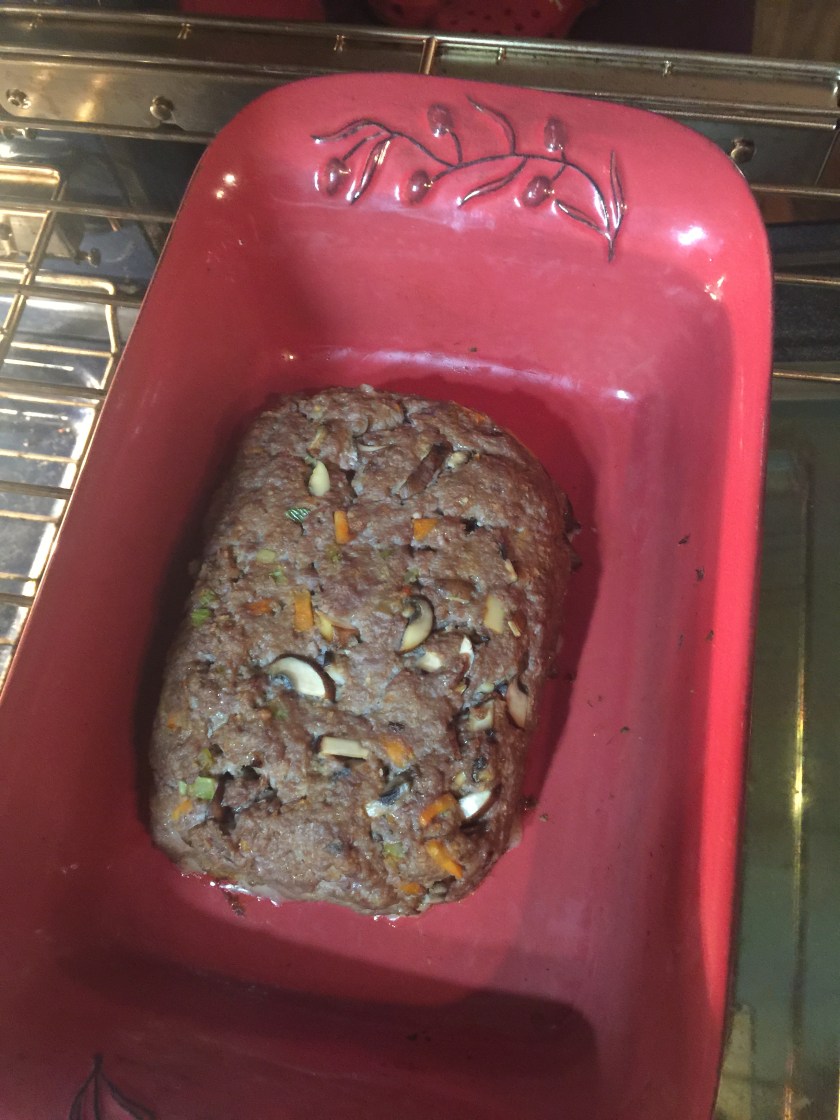
A pulled pork from Hillacres Boston butt can also be made in the oven or your slow cooker.  It will still be delicious.

Slow Cooker :  Put the thawed Boston butt into your slow cooker on top of some cut onions.  Season with some salt.  Almost cover the meat with root beer (one of my daughter’s uses Dr. Pepper).  Organic sodas can be used here.  Put the lid on and cook on low for 6 to 8 hours.

Conventional Oven : Put cut onions in the bottom of a lidded casserole dish.  Set the oven to 325 degrees Fahrenheit.  Sprinkle roast with salt and any additional seasoning, to taste.  Put a piece of foil over the pot and the place the lid on top to seal in the juice.  Bake for 3 hours.

Ingredients:
Boston but pork roast (boneless or bone in) – Hillacres Pride
Brioche rolls – Wild Flour Bakery
Barbecue sauce – Wm. Schober & Sons

Brownies from scratch!

My husband and grandson love brownies.  They requested them for the long Labor Day weekend.  Of course.  No problem.  After all I use a mix and can make a pan of brownies with my eyes closed.  I don’t eat brownies, or chocolate….allergic.  My husband said that’s why he married me.  More chocolate for him.

I went to my brownie mix shelf and it was bare!

I had already been out shopping earlier and was really looking forward to not going out again until the weekend was over.  Years ago I made brownies.  Lots of different kinds.  So.  just get the recipe and get started.a-basic-rule-of-baking-is-that-in-general-its-almost-impossible-to-make-an-inedible-batch-of-quote-1

Dry ingredients;
2 cups white sugar
2/3 cup unsweetened cocoa powder
1 cup all purpose flour
1/2 teaspoon salt
1/2 teaspoon baking powder

Wet ingredients:
1 cup vegetable oil
4 eggs
1 teaspoon vanilla extract
1 teaspoon chocolate extract (if you can’t find chocolate extract these are still delicious using 2 teaspoons vanilla extract).

Extra ingredients:
1 cup chocolate chips
1/2 to 1 cup of coated chocolate candies

Directions:
1. Stir together all dry ingredients.
2.  Beat eggs with vanilla and chocolate extracts.  Add to the dry ingredients.
3.  Pour the oil into the mixture and stir with a large spoon until well mixed.
4.  Dump in the chocolate chips.  Stir.
5. Spray a 9″ x 13″ cake pan with baking spray.
6. Spread batter in the prepared cake pan.
7. Top with coated candies. (you can substitute any of your favorite miniature candy)
7.  Bake for 35 minutes at 350 degrees Fahrenheit

Let the brownies cool in the pan before eating.
IMG_6423

My husband doesn’t think I ever need to buy brownie mix again.

b70e97c8d0ffcc1605399df20cebd197--brownie-points-romantic-ideas

BBQ bison meatloaf

I love meatloaf.  Never got enough of it as a kid.  My parents, like most parents in the 1950s, weren’t rich and when they first were married my mother made meatloaf with frightening frequency.  So.  We had meatloaf but not as much as I would have liked.

This is a delicious meatloaf that requires a couple of tricks that make the whole thing even more wonderful, especially for bison which is very lean and needs a lower temperature and a shorter cooking time.

Ingredients:
1 lb ground bison
1 carrot, diced small or grated large
1 stalk of celery, diced small or grated large
1 small onion, diced small or grated large
3 medium mushrooms, diced small
2 Tablespoons butter (for frying)
1 large egg, beaten
1/4 cup ketchup
2 tablespoons mustard
1/2 cup panko (or bread crumbs or oat meal)

Directions:
1. Thaw the ground bison
2. Preheat the oven to 325 degrees Fahrenheit.  (Yes, 325.  The lower temperature works best with the bison as it is so lean).
3.  Prepare the carrot, celery, onion, and mushrooms.  Melt the butter in a frying pan and fry the vegetable mixture until just softening. Let cool.
4.  When the vegetables are cool enough to touch, mix into the meat, adding the ketchup, and mustard.  Best to use your hands.
5.  Now add the egg and the panko (or bread crumbs or oatmeal).
6.  When well mixed, place in a baking dish and shape into a loaf.  Your loaf will be soft but should easily be formed into a loaf.IMG_6386
7.  Put in the oven for 30 minutes.
8.  After 30 minutes pour about 1/4 cup of your favorite BBQ sauce on top.  Return to the oven for 45 minutes.  IMG_6396
9.  Serve and enjoy!

I had some leftover, it’s just my husband and I, and the meatloaf was moist and delicious for lunch the next day!

I buy my bison from Buck Wild Bison at the Collingswood Farmers’ Market.  Look up their website.  You can mail order from them.

To round out the meal I made steamed delicata squash mashed with butter and green beans.  And, of course, a sliced Jersey tomato!

Bison – Wild Buck Bison
Carrots – Our Yards Farm (ugly but oh so sweet!)
Onion – A.T. Buzby
Celery – Flaim Farm or Formisano Farm
Mushrooms – Davidson’s Mushrooms
Delicata squash – Flaim Farm
Green beans – Springdale Farm (also available at Hymer Farm, Viereck Farm, Savoie Organic Farm)
Jersey tomatoes –  everywhere!

Delicata squash and kohlrabi hash browns.

IMG_6276
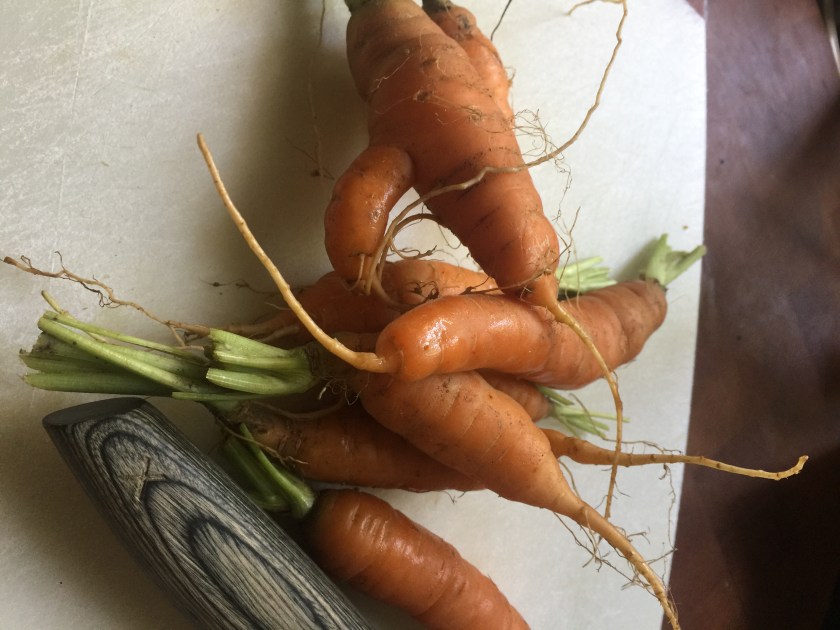
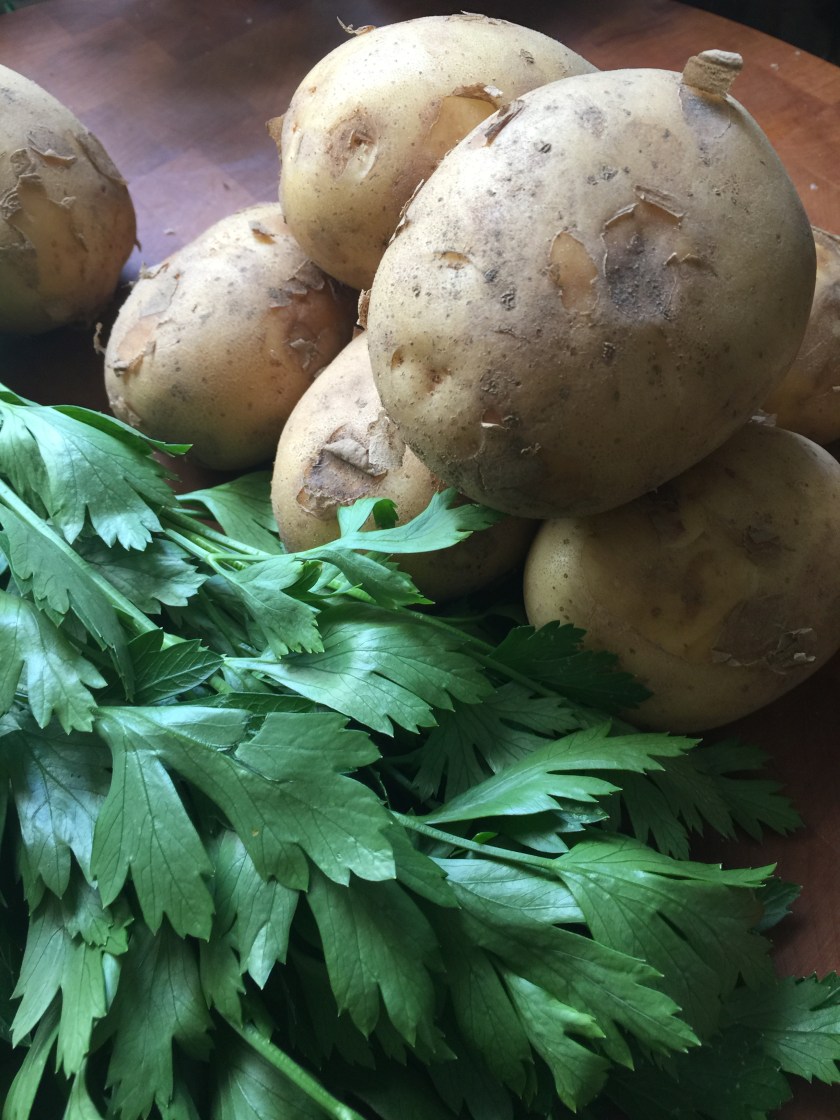
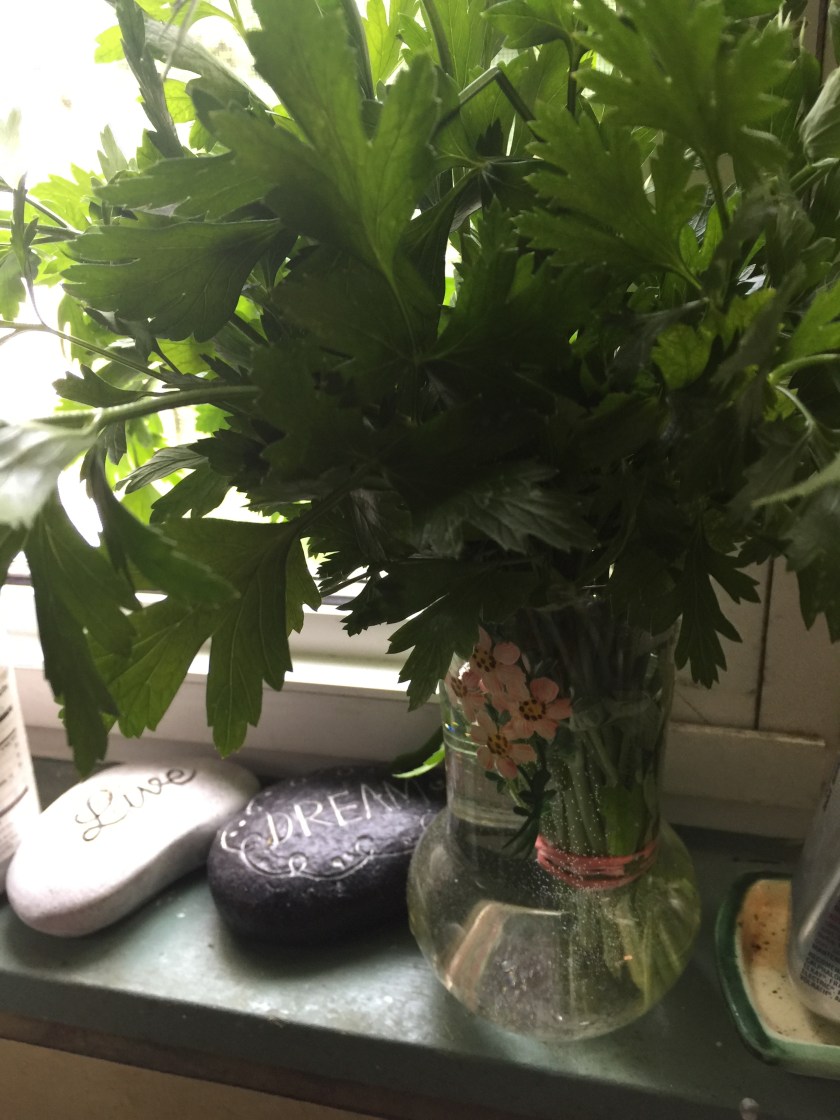
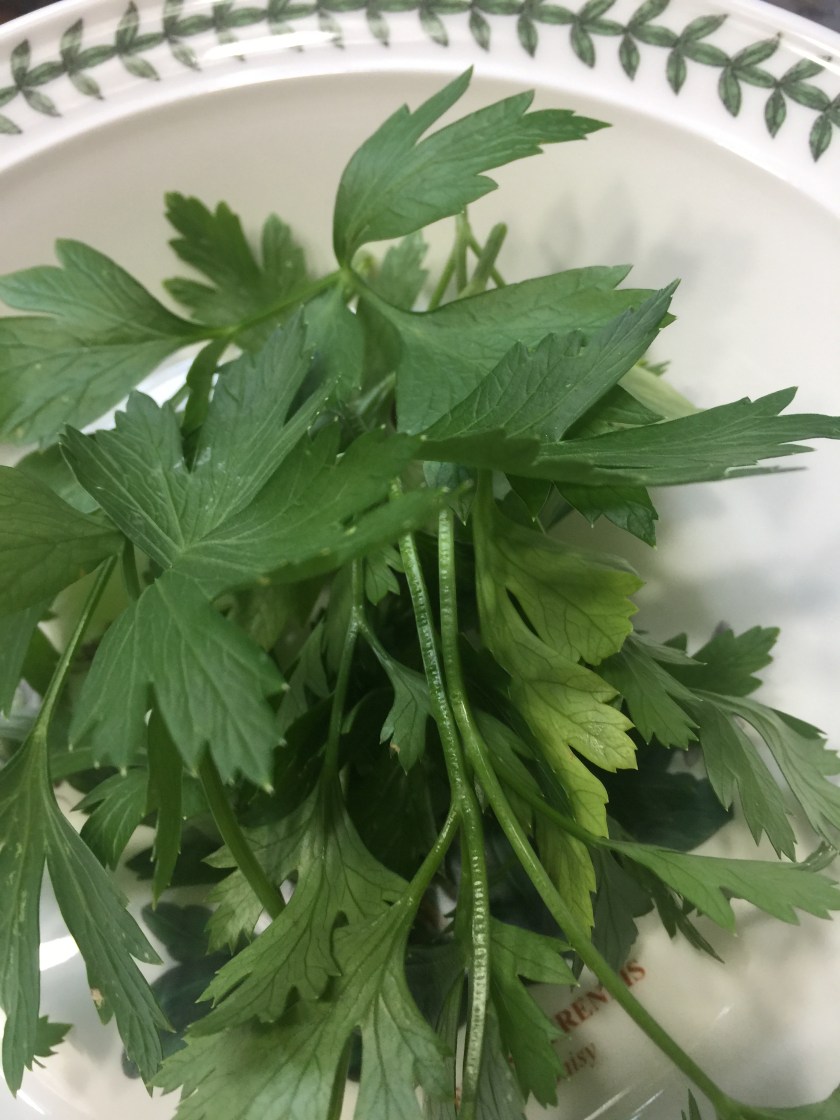
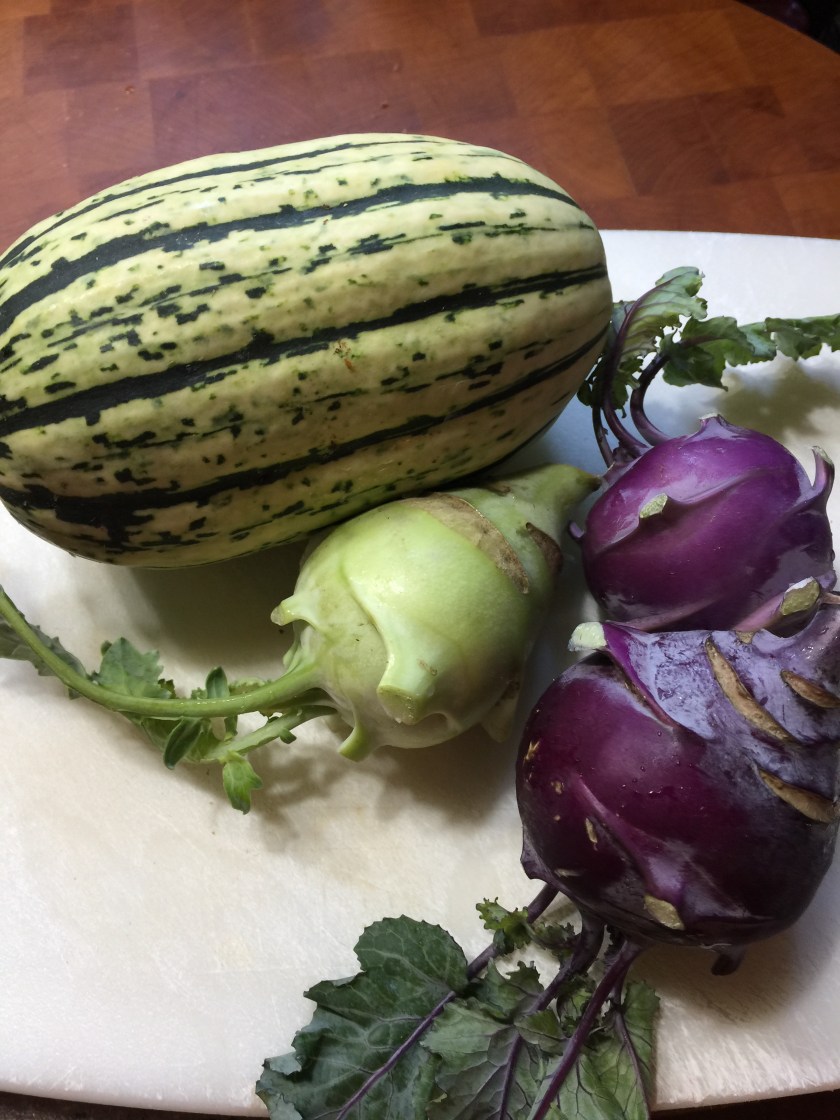
My first stop at the Collingswood Farmers’ Market is always Our Yards Farm to see what Farmer Julie has on offer.  She always has a beautiful display of locally (less than five miles from the market!) grown produce and herbs.  Her fresh herbs and herb bouquets are lovely and delicious.  I stepped up to the table and saw kohlrabi.  It looks beautiful but I didn’t really know what to do with it.  Another shopper was buying a bunch because she remembered eating it sliced with salt on it as a child in Czechoslovakia.  Since I am part Czech by descent, and was talking to this lovely woman, I decided to buy some and try it as she described it.  After all, I do eat raw potatoes with salt because my mother used to give it to us kids.  I like raw potatoes with salt!

When I was ready to prepare the kohlrabi I began peeling it, like Farmer Julie suggested and I tasted a piece with salt.  I liked it, but because it is more reminiscent of broccoli than potato, I realized my husband wasn’t going to like it at all.

I also had purchased the first delicata squash of the year from Flaim Farms.   Delicata is a winter squash with a delicate yellow orange flesh.  There is another recipe on this blog to roast slices of it.  But I was inspired.  Why not make “home fries” with the squash and add the kohlrabi?  Why not indeed.

So.  I peeled and sliced the delicata and the kohlrabi.

Cut up some beautiful green onions….available throughout the market.  And fried it all up together.  The kohlrabi is firmer than the delicata so put it in your frying pan first,  about 3 to 5 minutes earlier than the delicata squash pieces.  Then fry it all together for another 5 to 10 minutes until all of the squash and kohlrabi can be easily pierced with a sharp knife.


IMG_6295

A jar full of treasures!

Everyone who reads these posts knows that I love my farmers’ market.  Specifically the Collingswood (NJ) Farmers’ Market.  I get there when the opening bell rings and I walk the length of the market buying Jersey fresh produce and other surprises from farmers and local vendors.  When the market is open (May until the Saturday before Thanksgiving) I only go to a local supermarket for milk, yogurt, and bananas.

Nearly every day I eat a salad for lunch.  This week I went on my market treasure hunt with my lunch in mind.  I was searching for something special and I found it all!

I had to babysit for my grandson on Tuesday so I wanted to be sure to have a wholesome lunch waiting.  I particularly wanted to make a jarred salad that would be waiting for me when I got home.  I wanted to have lunch ready ….no cookies while I was thinking about what to make.

So here we go….

I start at the Springdale Farms, Big Shrimp, Our Yards end of the market….so while I stroll the sun is NOT in my eyes.

From Our Yards Farm I bought an Asian cucumber.  Crisp, delicious, sweet, and hold up in a jar in the refrigerator.  First layer finished.   Farmer Julie also had a nice bag of lettuce and other greens.  Then I saw some grape tomatoes and some sweet Tomato Berries at Springdale Farms.  If you have not tried their Tomato Berries you are missing out.  Small, first, sweet.  Sold.  A. T. Buzby had small orange “lunchbox” peppers.  Delightful! Savoie Organic Farm had some white cucumbers.  I love them!  Very sweet.  Hillacres Pride had nice chunks of my favorite cheddar cheese. IMG_6316 
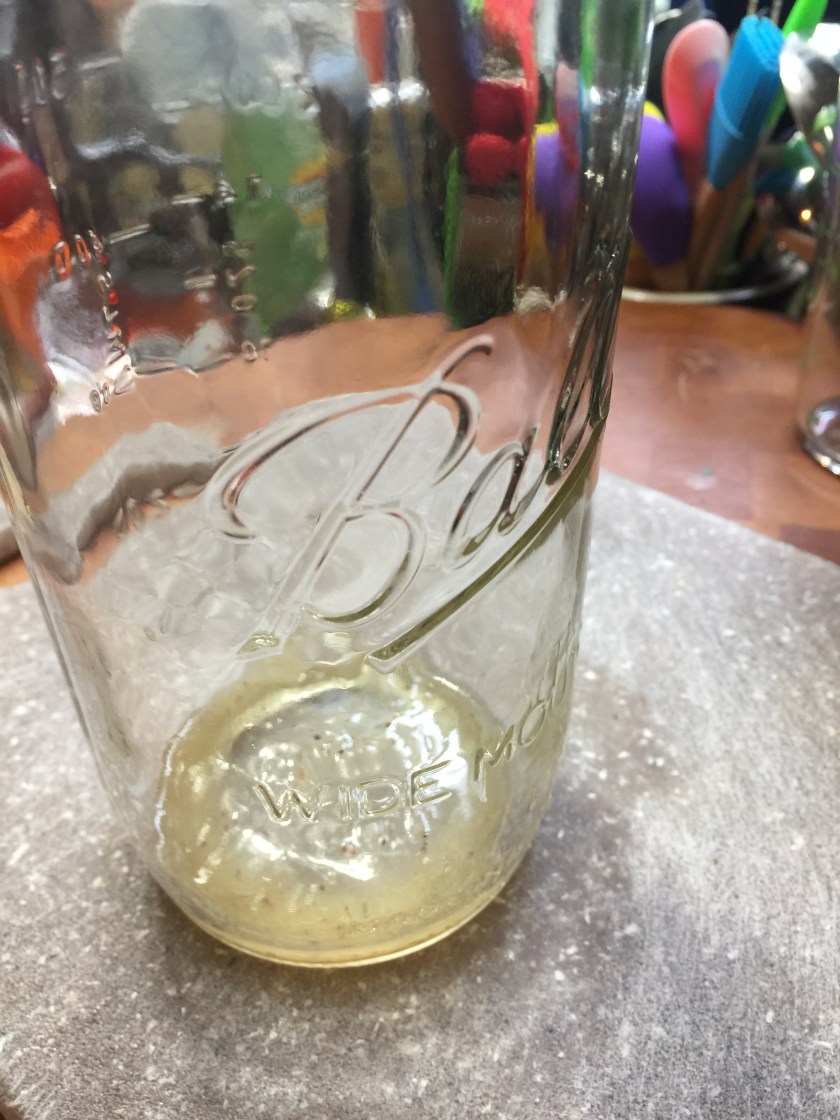
Perfect for the middle of my salad jar.  Finally I found I purchased roasted red peppers in olive oil, artichokes in olive oil and fresh, homemade mozzarella cheese from Villa Barone’s stand.

Beautiful stuff!  Treasures all!

So…quite simply…you stack your lunch in a jar.  A couple of hints and you’re ready to go.  First any dressing should be put in the jar first and sit on the bottom. IMG_6305 Second, stack by weight.

You should end with lettuce.  Third, no tomatoes in the jar.  Put tomatoes in the salad when you are ready to eat it.  Jersey tomatoes do not like the inside of a refrigerator.  They get mushy!  Finally seal the jar and put it in the refrigerator.  IMG_6330
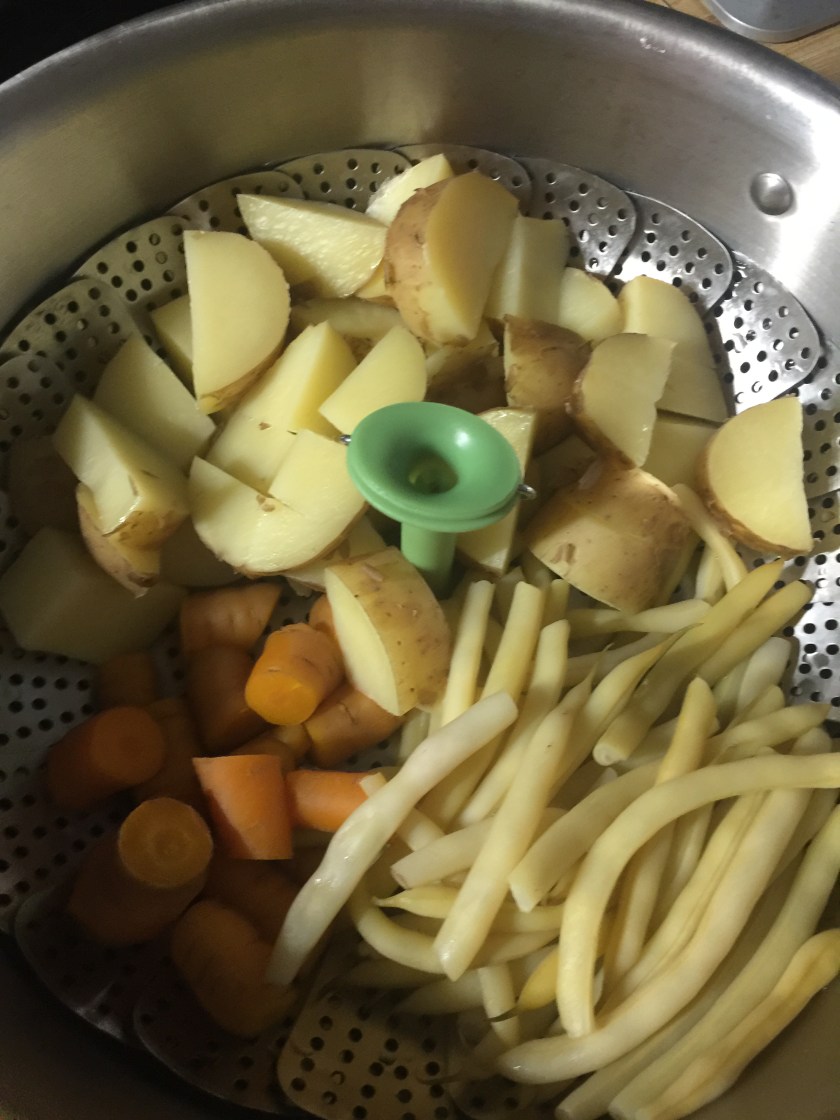
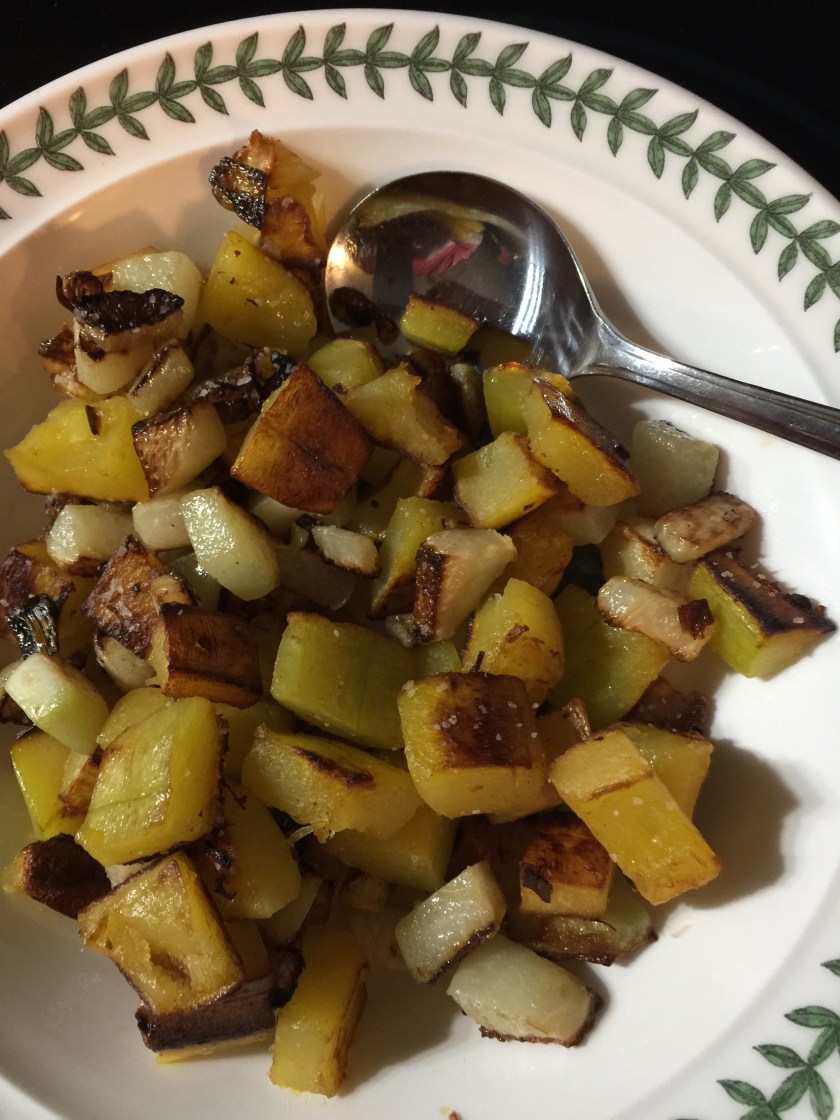
Mine was in there overnight. My daughter packs her jar and takes it to work to eat.  Simple.  Delicious.  Healthy.  The thing is ALL of the vegetables are great….try different varieties of  fruits and vegetables  from ALL of the farmers and vendors!

Cucumbers – Our Yards, Savoie Organic, Flaim Farms, Formisano Farms, Springdale Farms, Hymer Farms

Tomatoes – Springdale (for the tomato berries), Our Yards, Savoie Organic, Danlynn Organic, Hymer Farm, Vireck Farm, Fruitwood Farm.   (try some from everywhere!)

Cheese – Hillacres Pride, Springdale Farm (mozzarella), Villa Barone (mozzarella)

Peppers – A. T. Buzby, Springdale Farms, Hymer Farm, Flaim Farm, Formisano Farms, Danlynn Organic, Savoie Organic

00d4ae568758654dd89da7604a1534d6--healthy-quotes-eating-organic

My father’s house.

On 1 April 2016 my father passed away.  He had lived without my mother for 15 years in the house they designed and built together.

My father was over 90 years old and had lived a full fifteen years alone.  While healthy and active, he didn’t keep house like my mother.  And, as many of you know, people who feel alone often collect things.  My father collected things.  He had twelve non-working lawn mowers in his yard.  That should give you an idea.

After discussing with immediate family, my brother and I, as executors to my father’s will, made the decision to sell my father’s house.bedbb7bcd2dd361f0cb281597bfa2a27l-m0xd-w1020_h770_q80

We tried to clean it ourselves but the job was too big.  Too many emotions attached.  Too much stuff.  We soon realized that we were, in fact, cleaning out other people’s stuff.

We hired a company to clean my father’s house.  We tagged the big pieces of furniture that we wanted.  I have my father’s grandfather’s chair.  And the rest was to go to charities or just the dump.  We paid tens of thousands of dollars and we paid with our hearts.

When the house was finally clean.  It was ready to sell.  As is.  There were no appliances left working in the house except the cook top and oven. And there had to be a new septic system installed before anyone could live there.

We were approached by speculators who wanted to purchase the house for a song, and knock it down to build something new.  But, in very short order, it seemed, we had two families interested in buying my father’s house.  Soon it was one family.  They were very interested in making my father’s house their home.  They appeared to understand the importance, to my brother and I, that someone bring life back into that house.

We grew up there.  We had Thanksgivings and Christmases there.  Birthday parties.  Family picnics.  Wedding showers.  It was our home.  Now, sadly, it was simply my father’s house.

The family who bought my father’s house are two lovely and intelligent adults with four lovely and intelligent and active children who have turned my childhood home…that became my father’s house…into another happy home overflowing with children’s laughter.

My father would love that.  He would love to be in his yard playing with happy children again.

My daughter and grandsons and I went to visit what was my father’s house the other day.  We were invited.  My brother and daughters and I purchased a gift certificate for the children to have a wooden swing and playhouse.  We all felt it was a fitting tribute to my father’s memory.

One of my grandsons and one of the new residents of what was my father’s house spent a happy time playing together.  I could see my father smiling and I think I heard him laughing too.

Shrimp three ways

There is a new vendor farmer at the Collingswood Farmers’ Market.  The Big Shrimp Co.  The sell only one product Farm Raised Pacific White Shrimp.  Yes, Pacific White Shrimp grown in Pennsauken, New Jersey.  Their brochure explains that they truck salt water in from Barnegat Bay (located in New Jersey).  The the water is pumped into a 75,000 gallon indoor shrimp farm.  The water is biologically filtered, heated, oxygenated, and circulated through an ultra violet light system.  Wow!

All of that grows some lovely and large shrimp.

The shrimp are alive when purchased.  And they have their heads on them.  When purchased, the shrimp are put in a bag of ice which “puts them to sleep”.

Because the shrimp are so fresh it is necessary to use them in a couple of days of purchasing, or freeze them.  I was a little worried about their sleeping in my refrigerator, so I prepared them as soon as I returned home from the market.

Recipe 1 – Boiled Shrimp
Ingredients:
1/2 pound raw shrimp
1/4 cup apple cider vinegar
1 Tablespoon Old Bay Seasoning
1 – 2 quarts of water

Directions:
First I cut their heads off.  There is a visible line in the shell and under the head.  Simply put a sharp knife on the spot and press down.  Done!

Then I used a tried and true method for making shrimp.  Husband likes shrimp cooked, chilled, and dipped in cocktail sauce.

A very easy way of preparing shrimp to be chilled and eaten later is to clean the shrimp while you set a pan to simmer (not boil).  To a large pan of water (a quart or two) add 1/4 cup of apple cider vinegar and a tablespoon of Old Bay seasoning.  Stir to blend.  These amounts are to taste so if you prefer more vinegar or more seasoning, do so to your taste.

Place the shrimp in the pan of water with the vinegar and spices.

These shrimp are nearly clear.  To determine doneness look for the shrimp to turn white so you can’t see through them.


Now wait as the water comes to a very slow simmer.  DO NOT BOIL.  And watch and wait.  When the shrimp FLOAT take them out of the water.  I put them in a glass jar, let them cool a few minutes, put a lid on the jar, and refrigerate to chill.

This is an excellent recipe to cook shrimp for later use.IMG_6128

Each week my daughters and I shop together at the market.  We all bought shrimp.

Recipe 2 – Sauteed Shrimp
Ingredients:
1 pound of shrimp
3 tablespoons butter
salt
pepper
fresh basil
fresh sorrel
juice of a lemon

Directions:
Clean shrimp.  Melt butter in a frying pan and sauté the shrimp in the frying pan.  When the shrimp have turned white, add some leaves of fresh basil and sorrel (purchased in an herb bouquet from Our Yards Farm), salt and pepper and a squeeze of fresh lemon.IMG_4865


Recipe 3 – Shrimp Salad Rolls
Ingredients:
1/2 pound of boiled shrimp
1 rib of celery
2 Spring onions
juice of 1/2 a lemon
3 – 4 Tablespoons mayonnaise
1 teaspoon Old Bay Seasoning
Pepper to taste

Directions:
Peel and slice the cooked shrimp.  Dice the celery and onions.  Put all in a bowl. Add the seasoning and lemon juice.  Mix.  Then add mayonnaise.  Stir to combine.

Serve on a few lettuce leaves with a sliced Jersey tomato on the side or on a New England style (top sliced) hot dog roll.

IMG_6131

Three families tried the Big Shrimp with three different recipes.  Thumbs up all around!


IMG_6125


Shrimp – The Big Shrimp Co.
Fresh herbs – Our Yards Farm
Green onions – Our Yards Farm
Celery – Flaim Farms, Formisano Farms
Butter – Hillacres Pride

Fried red tomatoes

As I am a Jersey girl who grew up eating Jersey tomatoes, I never heard of a fried GREEN tomato until the book and movie of the same name came out over 25 years ago!  And, loyal to my roots, I have never tasted one.  It doesn’t seem right.  Green tomatoes.  Of course now tomatoes come in red and purple and black and green and orange and striped.  And I eat them all.  Just not unripe green ones.  It doesn’t seem right.28749963-gardening-quotes-homegrown-tomatoes

My grandmother and my mother made fried tomatoes.  Red ones.  When tomatoes were plentiful we would have fried tomatoes often as a side dish.  They are the perfect complement to something off the grill.

This recipe is as good as your tomatoes.  You want very ripe ones.  And it’s all about technique.  But know that even if it all turns to mush…the dish is still delicious.


(What you see pictured above is a tomato knife.  I know.  I thought it was a gimmick too.  But it works and works well.  The blade is serrated to get through the skin without smashing the tomato.  The open spaces keep the slices separated.  The prongs pick the tomato slices up).

Ingredients:
ripe, RED tomatoes
flour
salt and pepper to taste
butter (or olive oil or vegetable oil)
heavy cream (optional…but oh, so delicious.)

Directions:
1. Wash and thickly slice red tomatoes.


2. Dry the sliced tomatoes on a paper towel.IMG_6039
3. Mix flour, salt, and pepper on a plate.IMG_6042

4.  Lay the tomatoes in the flour mixture.  Coat both sides.


5. Heat your pan to medium heat…no more than medium high.


6. Melt butter in a large skillet…enough to cover the bottom of the pan.  (My grandmother always used butter.  Olive oil and vegetable oil are fine here too.  I think it depends on your taste and your grandmother).

7. When the butter has melted completely and has started to bubble, put the tomatoes in the pan.  (If using oil, do get it hot enough to sizzle when you place the tomatoes).IMG_6053

8. Let the tomatoes fry in the butter for about five minutes before turning them. Fry both sides.


9. A minute or two before you are going to serve the tomatoes, pour in about 4 ounces of heavy cream.  Take the pan off the heat and let the cream bubble up and cook down.  Only a minute or two.


10.  Serve.IMG_6077

Simple.  Delicious.  Can be used as a side dish or a “sauce”.

It isn’t summer until some ripe, red tomatoes get fried like my grandmother and mother used to do.  Truly comforting food.

Tomatoes can be found EVERYWHERE at the Collingswood Farmers’ Market – Our Yards Farm (cherry tomatoes), Springdale Farm, Flaim Farm,  Hymer Farm, DanLynn Organic, Viereck Farm, Formisano Farm, Savoie Organic, Fruitwood Farm.


fullsizeoutput_34

My grandmother, my mother (in the bonnet), and big sister.


Super easy tiny tomato sauce

Today is an unsettled day.  It is hot, humid, stormy.  More storms are predicted for dinner time.  What to do?  I’m running out of enthusiasm for big dinners.  There is no time to grill without a storm.  And…I have lots and lots of tomatoes of all sizes, shapes, and colors.

Pasta is always a quick dinner and always a winner with children.  This recipe is one I used often in the summer when my children were younger.  We’d come home from swimming and, while they were showering and changing, I would put this together.  Along with a big salad this is s a great and filling summer meal.  Watermelon or ice cream for dessert.  I will date myself here by telling you that summer dessert, when I was a child, was a slice of watermelon.  We sat on the bottom step of the back porch and spit the seeds into the grass.  Yes, watermelons had seeds way back then!

There are many, many farmers at the market selling many varieties of tomatoes.  The tomatoes I’ve used are from Our Yards Farm….but Springdale Farms sells them (try their tomato berries!), and A. T. Buzby Farm and Viereck Farm.  And the variety is colorful and delicious. IMG_5977

Ingredients:
a pint (or more) of cherry tomatoes
1/4 cup olive oil
2 tablespoons butter
1/4 cup panko or bread crumbs
pasta

Directions:
1.  Put pasta water on the stove to boil (This takes the most time!). Hint:  put a wooden spoon over the pot of boiling water with pasta in it.  It keeps the water from boiling over.  It really does!


2.  Melt butter in a small frying pan.  Pour in the panko/bread crumbs and stir until starting to brown.  The butter will be absorbed into the crumbs.  Remove from heat and set aside.


3.  Pour olive oil into a large pan and turn on medium heat.IMG_5986
4.  Cut all cherry tomatoes into  halves or quarters.  I prefer quarters.  Pour the tomatoes into the olive oil.  (Some people will tell you that you don’t have to cook the tomatoes and oil.  I do.  I like the tomatoes to be soft.  I like the olive oil to marry the tomatoes.  I like the sauce hot.  But, if you’d like not to, you do not have to cook the tomatoes and olive oil.  Let them marry at room temperature)


5.  Let the tomatoes cook until they get what my grandson calls “squishy”.  About 10 minutes or until the pasta is done.IMG_5996
6.  When the pasta is cooked to your liking (husband like al dente, grandson like mushy), drain it, and dump it into the sauce.
7.  Stir the sauce and pasta (really delicious with angel hair pasta or ravioli) until well combined.
8.  Pour the pasta and sauce into your favorite bowl, top with butter toasted breadcrumbs.  Serve.IMG_5998

No garlic.  (I add basil for the adult dish….lots of farmers have bunches of basil for sale.  Our Yards Farm sells a bouquet of mixed herbs which will get you through a cooking week nicely.)

No cheese!  Vegan!  And, if you use gluten free pasta or zucchini pasta…gluten free too.

This is a super simple way to use up a surplus of tomatoes and a delicious way to get dinner on the table in less than 30 minutes.

Children and adults love this recipe.

IMG_4835IMG_4832IMG_4828

Parsleyed potatoes

I love potatoes.

When I was a girl potatoes were on every dinner table.  With all the herbs, vegetables, and fruit available at the farmers’ market be sure to buy some potatoes now.  They’re at most of the stands, look for them, and they taste so much better than from the  supermarket

As I shopped the Collingswood Farmers’ Market,  I spotted many places to buy fresh potatoes and I spotted bunches of fresh and beautifully green parsley at Our Yards Farm.  Her table is always so inviting.  I also bought her funny looking but deliciously sweet orange carrots.  Husband likes carrots.  IMG_5925

This week I purchased a small basket of potatoes and a bunch of parsley.  My plan was to make bison short ribs (also a market purchase), beans, carrots, and parsleyed potatoes.  A pretty standard, albeit old-fashioned, meal.  Comfort food if you will.IMG_5898

In another post I give advice on how to cook the bison short ribs.

This is a vegetable post.  And, most specifically, a potato post.

All you need for this heart-warming dish is parsley, potatoes, butter, and salt.  That’s it!

Because I cook for me and my husband…just us two…I try to use some dish/pot saving tricks.  I have recently purchased a large steamer basket.  I like to place the basket in a large pot and steam a variety of vegetables at the same time.  I can control the portions and I can control how much cleanup there is going to be.IMG_5947

Notice the steamer basket is filled with potatoes, yellow beans, and carrots.  They are separated in the basket to keep them separate.  Husband likes carrots, me, not so much.  I like beans, him, not so much.  But who wants to wash three pots?

So…

Ingredients:
parsley
potatoes
butter
salt

(In order to preserve the bunch of parsley for use later in the week, I cut off the ends of the stems about a 1/4 of an inch and put the bunch into a vase of water.  A vase of water keeps fresh herbs fresh for over a week…be sure to change the water daily).
IMG_5902

Directions:
1. Scrub the potatoes.
2. Cut out any questionable spots…do not peel.
3.  Cut into equal parts.  (halve a small potato, quarter a medium potato)
4.  Steam potatoes about 10 minutes or until a sharp knife slides into and through the potato easily. (I like to steam my potatoes….cook faster, less heat, drier to make a nice smash)
5.  While the potatoes are steaming, pick leaves off the parsley (no stems please) and rip them into small pieces.

IMG_5952
6.  Take potatoes out of the steam.  Toss in butter, parsley leaves, and salt.  With a potato masher or a large spoon…smash the potatoes.  Don’t mash…smash.  Leave some chucks.

And enjoy! (in winter when fresh parsley is scarce dried parsley will do….but fresh is always best!).IMG_5962IMG_5925

Parsley – Our Yards Farm (also available from Flaim Farms and Formisano Farms)
Potatoes – Savoie Organic Farm (also available from Flaim Farms, Formisano Farms, and DanLynn Organic Farm).
Carrots – Our Yards Farm (also available at Flaim Farms, Formisano Farms, and DanLynn Organic Farm)
Yellow beans – Viereck Farms (also available at Springdale Farm, and Savoie Organic Farm).
Butter – Hillacres Pride (the best! But remember it is sweet butter, meaning no salt added so you’ll have to add your own to the potatoes)