Refrigerator strawberry jam without pectin

..or what to do with too many strawberries…again!

In my defense…it has been a long and bitterly cold winter and the strawberries are so fresh and new (and not soggy!) and there are so many farmers selling them at the Collingswood Farmers’ Market (Buzby Farm, Fruitwood Farm, Muth Farm, Springdale Farm!!!!) and they smell wonderful when strolling through the market.  Resistance, for me, is futile.

My husband and I started eating strawberries when I returned home from the market.  We hadn’t had breakfast so I rinsed and sliced a quart and a pint box.  And we enjoyed them.  Me in my vanilla Greek yogurt sprinkled with cinnamon.  My husband plain in the bowl.  A big bowl.

We had more at lunch.  With ice cream this time.

And even more at dinner. Plain. (well, a little whipped cream..).

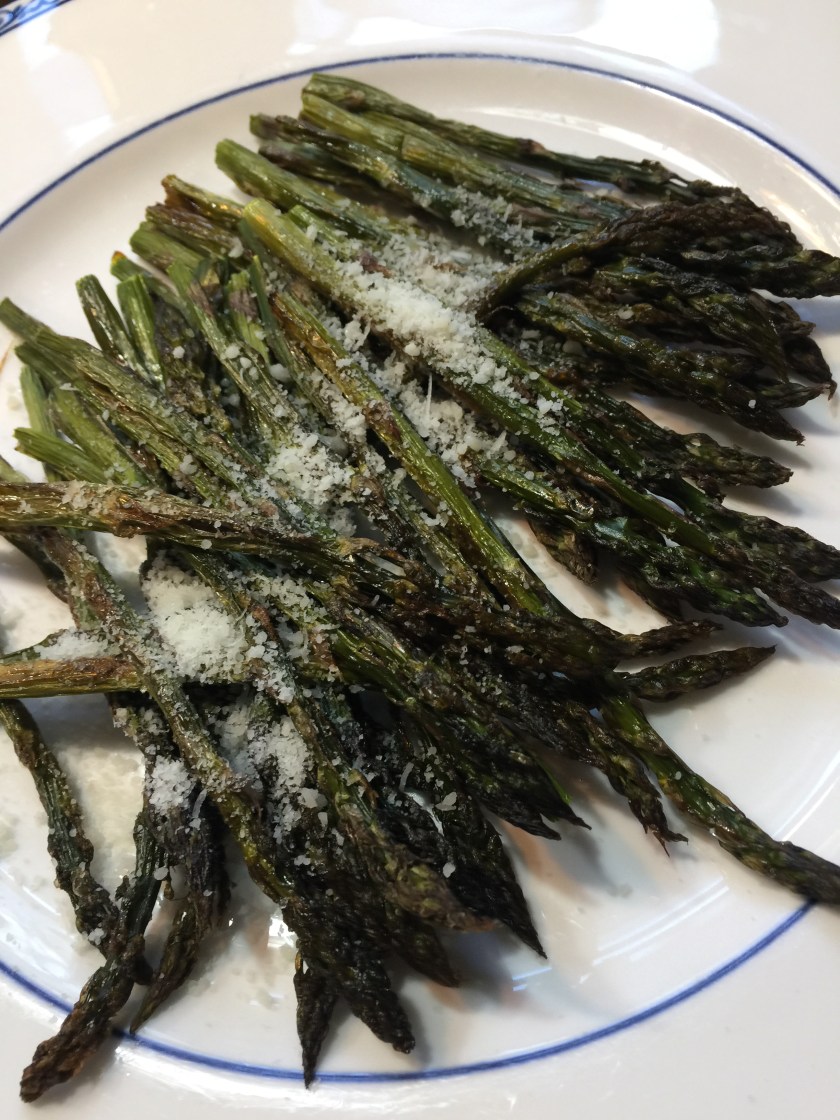
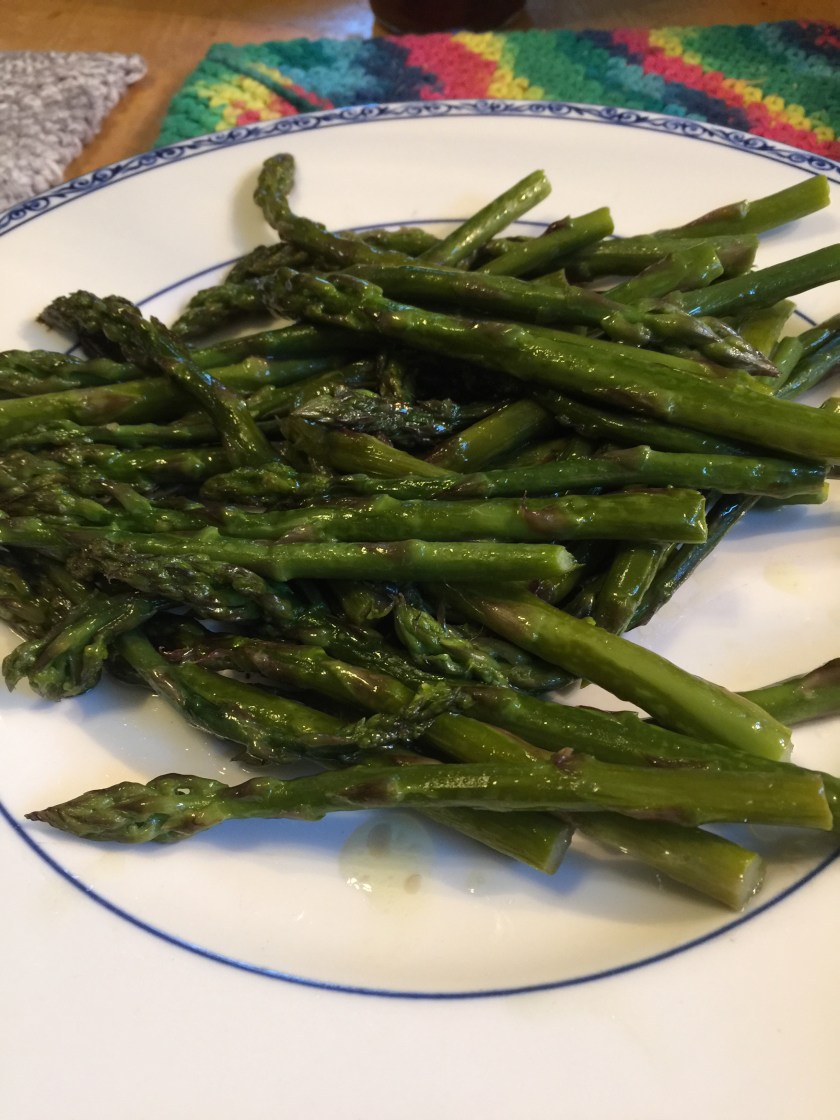
When I put all my other purchases away (cabbage, lettuce, cauliflower, asparagus, green onions, snap peas) I still had a counter full of strawberries in those innocent blue paper boxes.  I called my daughter and asked if she was missing some.  Had I taken a few of her quarts by mistake?  No.  They were all mine.  And after all we had eaten there were still four quarts of lovely, luscious strawberries left for me to clean and for husband and I to eat.

Enter refrigerated strawberry jam.  No canning required.  Simply cook down the berries until they are thickened, put the jam in jars, and refrigerate.  And my research tells me this jam will be good for two weeks in the fridge.


Ingredients:
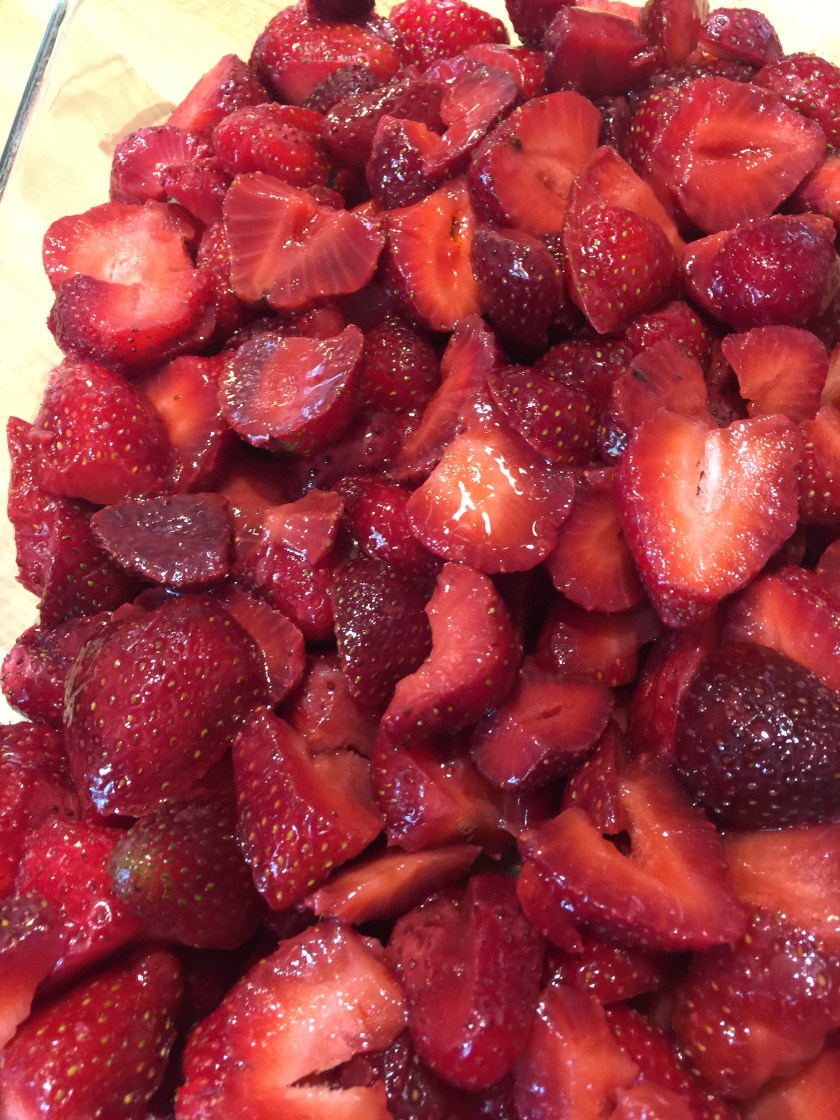
8 cups of strawberries (rinsed, hulled, and mashed)
3 cups sugar
1/4 cup fresh lemon juice

Directions:
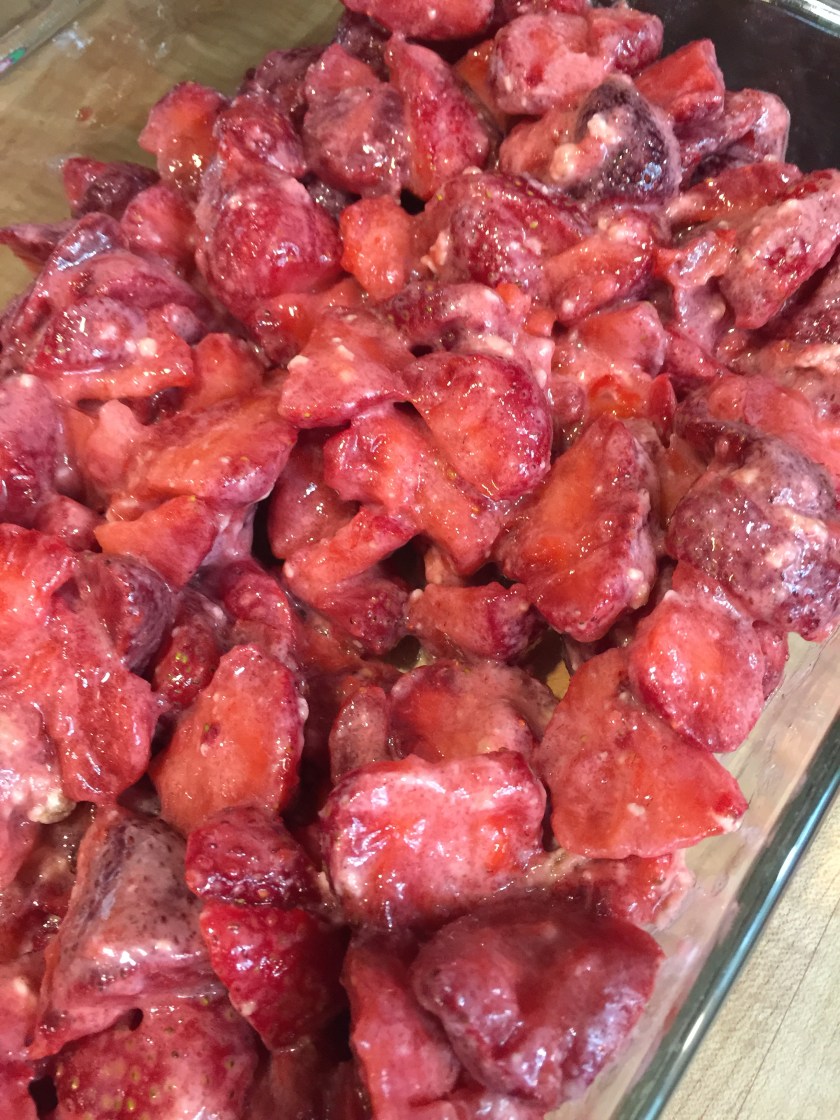
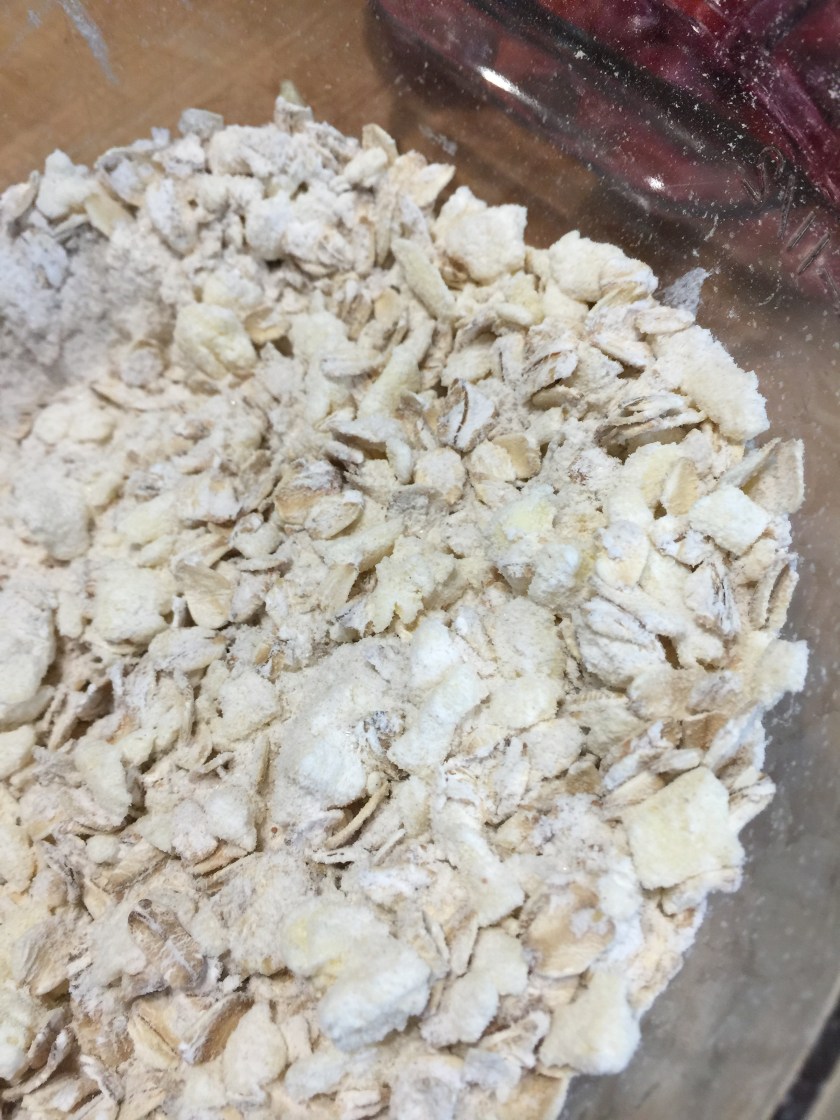
1.  Rinse, hull, and mash your berries.  You can use a potato masher or an immersion blender…how chunky do you want your jam?
2.  Put the berries, sugar, and lemon juice into a large pot.  Stir until well combined.IMG_8208
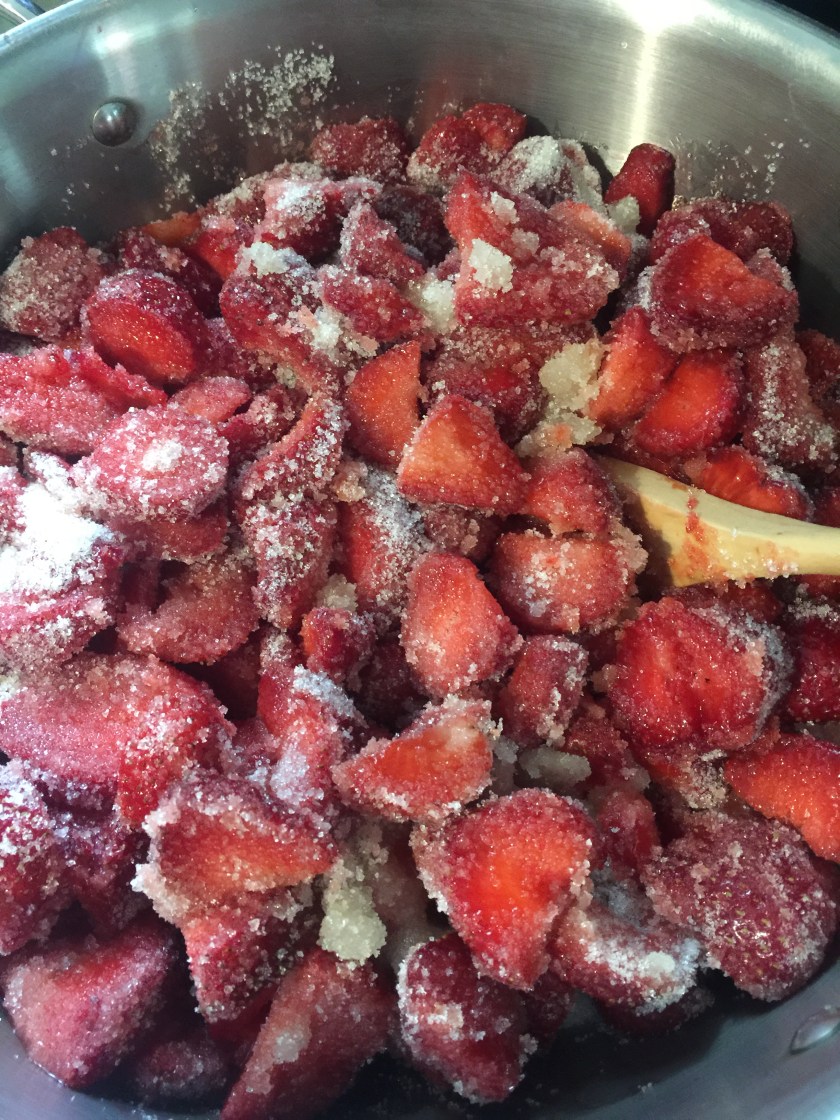
3.  Bring the berries to a boil.  (I started on medium high…and stirred very frequently so the sugar wouldn’t burn).  This should take 10 to 15 minutes.


4. Boil the berries for about 15 minutes more.  Continue stirring to keep things from burning but not as frequently as when you started the jam mixture.


5.  While the jam is boiling, put a stainless steel spoon in the freezer.  When the jam mixture has reduced by 1/3 you can test for doneness by putting the cold spoon in the hot jam.  If the jam drips off the spoon in lots of individual drops, it is not ready.  If the jam drops off the spoon in big goops, it is almost ready.  If the jam comes off  the spoon in a sheet or doesn’t drop off at all, it’s ready.IMG_8217
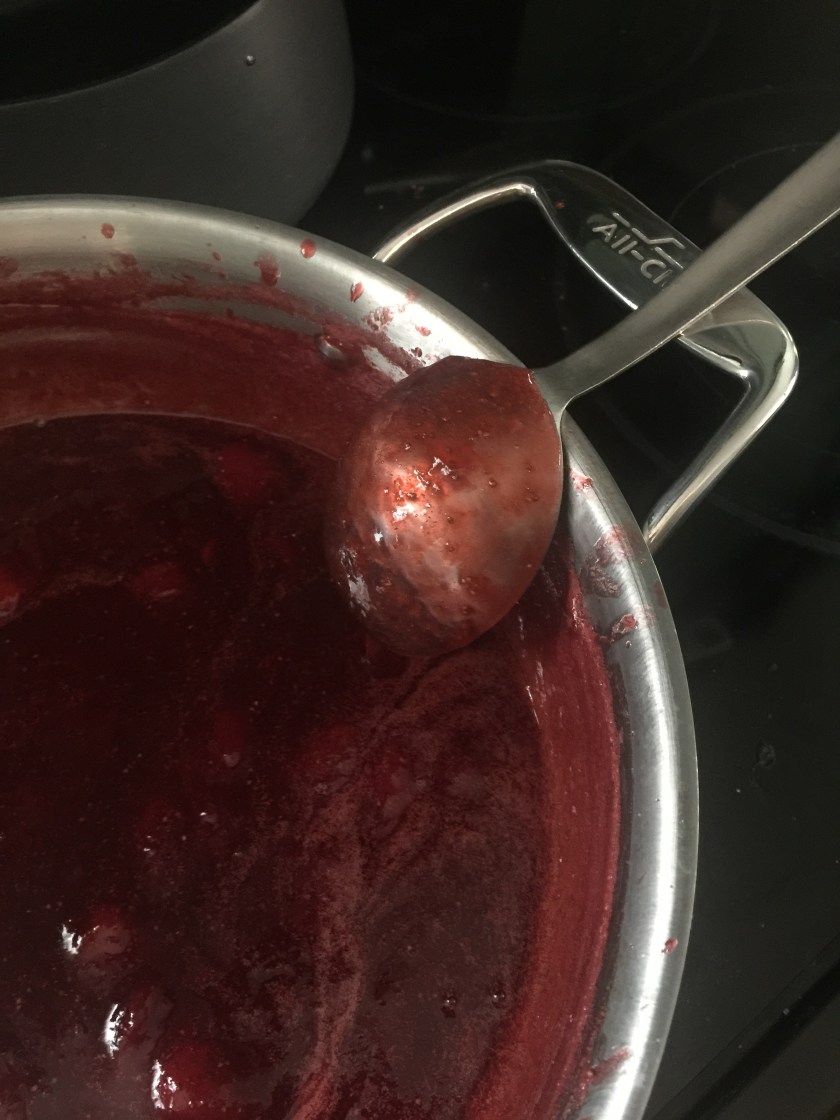
6.  Take the pot off the heat.
7.  The jam will set more as it cools.
8.  Ladle the jam into clean jars.  When the jars are cool enough to touch, put lids on the jars and put the jars in the refrigerator.IMG_8220

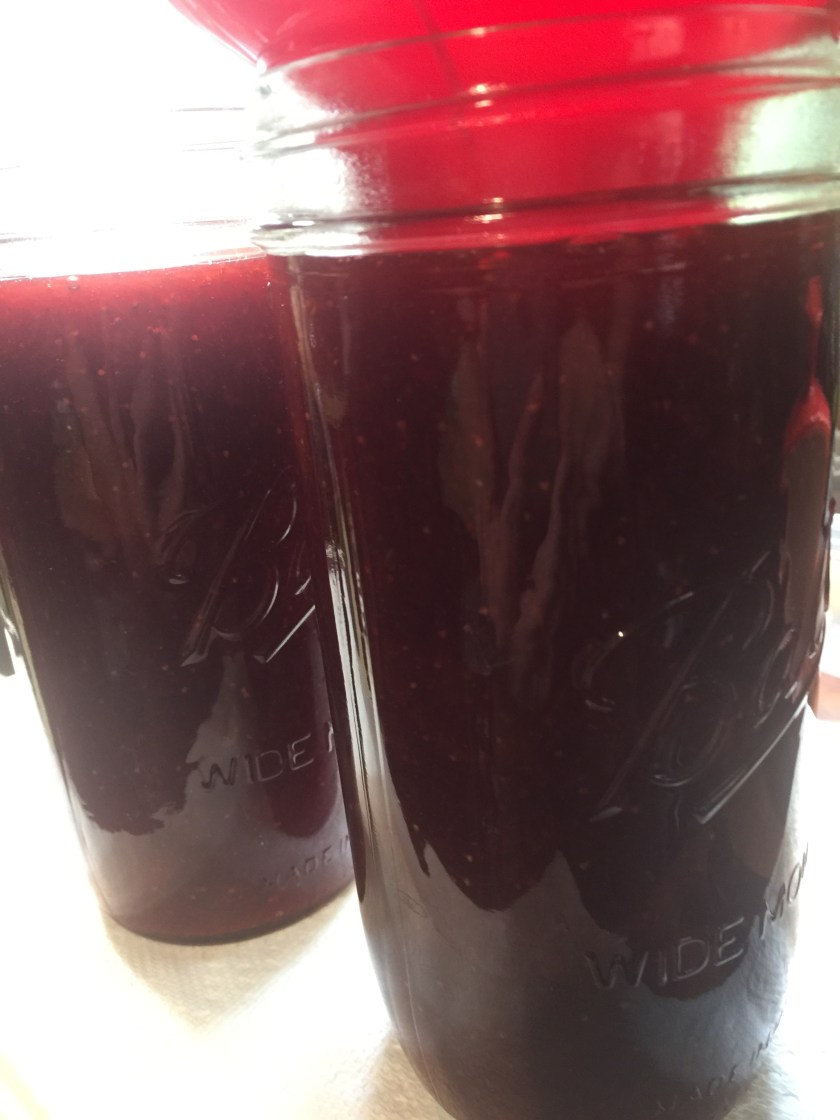
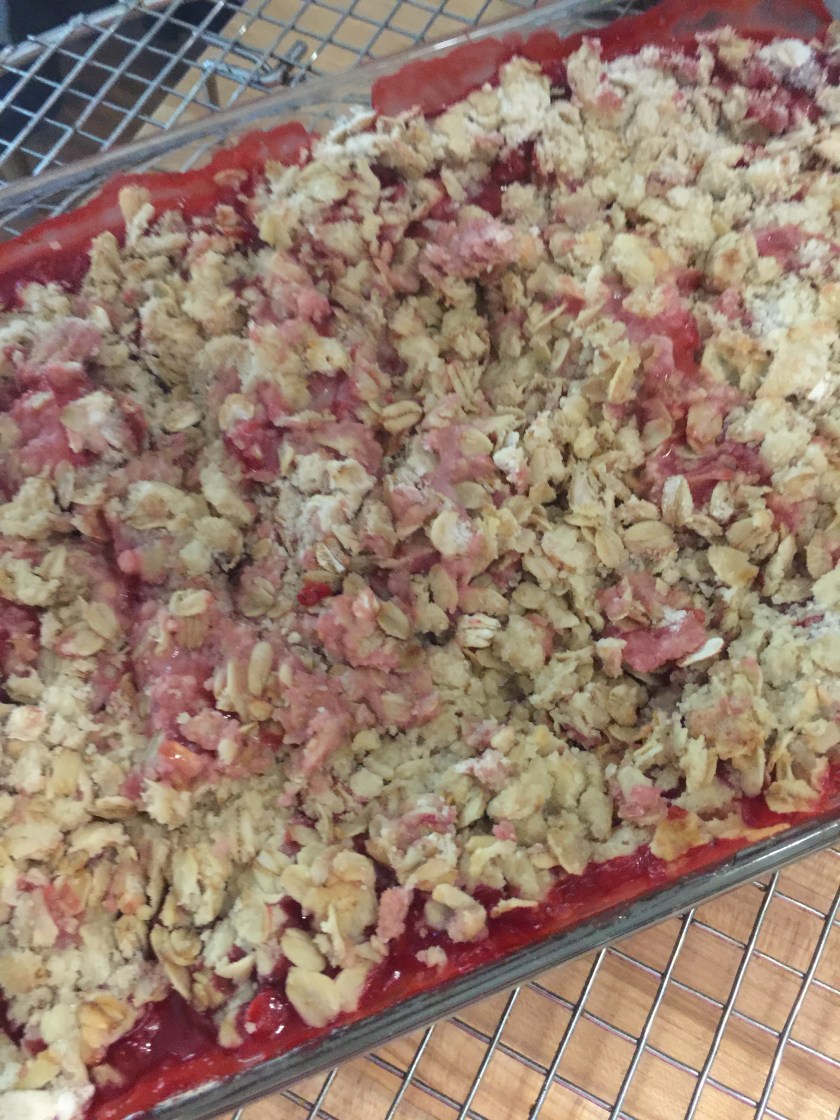
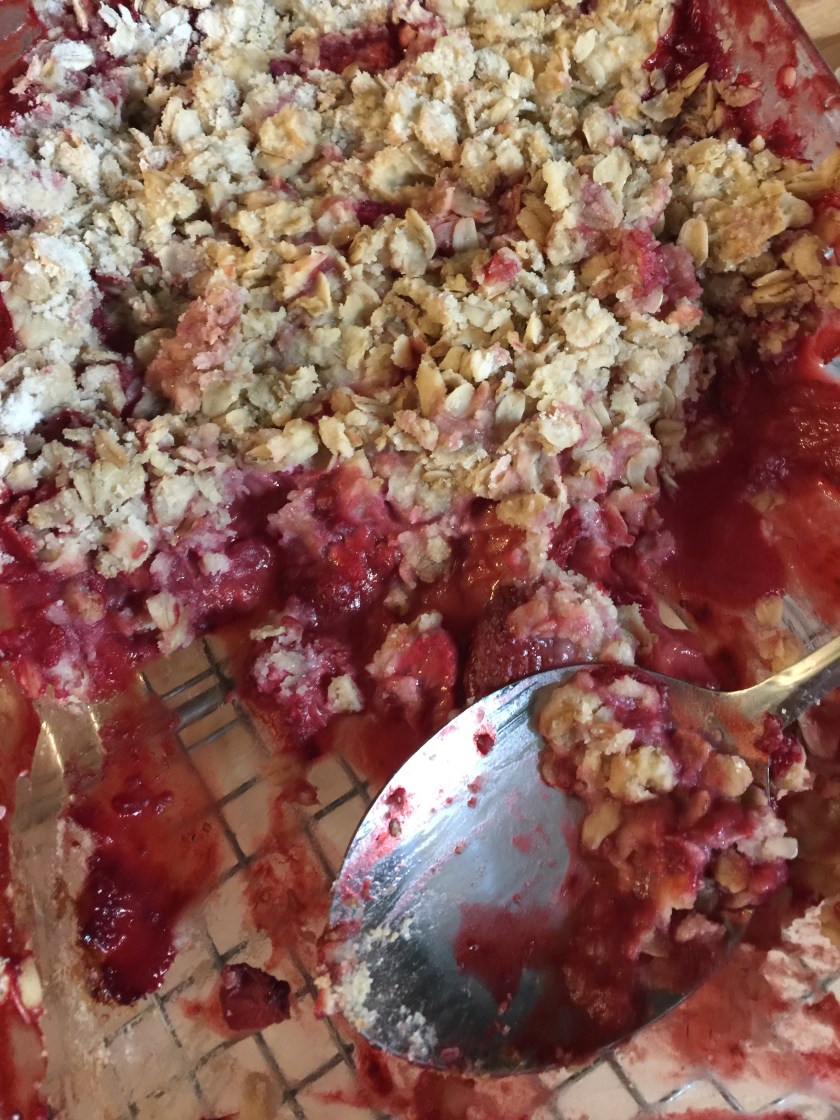
This jam is very fresh and chemical free.  It will not be as thick as commercial jam, but it will be thick enough to put on pancakes and waffles and ice cream and cake and toast and…

By now there is a silly tune running around inside your head.  But not that version…click the youtube link (apologies for whatever preview you see) here Richard Thompson singing That Song…. 

Strawberry crumble

one-must-ask-children-and-birds-how-cherries-and-strawberries-taste-403x403-nk513h

I am always enthusiastic about strawberries.  The first berries of the season are always fresh, but not always sweet.  Their sweetness grows as the new spring progresses until suddenly their fragrance fills the air.  Walking through the farmers’ market I could smell strawberries!  And so I was delighted to buy those aqua boxes filled with firm red strawberries from every farmer who was offering them for sale.

The rest of the story is I bought too many.  Not a new story.  After cleaning and eating bowls of strawberries on yogurt, ice cream, cake, and whipped cream I had to go bigger.

This weekend is the un-official start of summer.  Picnics and pot luck dinners are filling our calendars.  So…what better way to use up my pile of strawberries (and be a pot luck hero!) than to bake a delicious dessert to share.  Hence strawberry crumble!

This recipe goes together quickly and easily.  And uses lots of strawberries!


Preheat the oven to 400 degrees Fahrenheit.

Ingredients…for the strawberry filling…
2 quarts of fresh strawberries (cleaned and sliced)
2 tablespoons sugar
1/2 teaspoon vanilla extract
1/8 cup all purpose flour

Directions…for the strawberry filling…
1.  Put the strawberries in a 9×23 inch baking dish.IMG_8171
2.  Mix the sugar, vanilla, and flour together
3.  Sprinkle the sugar mixture over the strawberries.  Shake the dish to slightly mix in the sugar mixture.  Set aside.IMG_8174

Ingredients…for the crumble topping…
1/2 cup all purpose flour
1/2 teaspoon baking powder
pinch of salt
6 tablespoons cold, unsalted butter, cut into small chunks (I grate the cold butter on a cheese grater, large holes)
1/2 cup oatmeal (NOT quick cooking)
4 tablespoons sugar

Directions…for the crumble topping…
1.  In a medium mixing bowl, stir together the flour, baking powder, and salt.
2.  With a fork, mix the butter into the mixture.
3.  Next, again with the fork, stir in the oats and sugar.IMG_8176
4.  Evenly cover the strawberries with the crumble


5.  Bake for 30 minutes.

The crumble is ready when it is slightly golden and the strawberry juices are bubbling through the topping.IMG_8184

This is delicious served warm, at room temperature, or cold from the refrigerator.

It is likewise delicious served plain, with cake, with cake and whipped cream, with cake and ice cream and whipped cream.

IMG_8187
Strawberries purchased from A. T. Buzby Farm, Fruitwood Farms, Muth Organic Farm, Springdale Farms…all at the Collingswood Farmers’s Market.  And all delicious!

strawberry cheesecake stuffed French toast

32349421_1014694265352089_2449352821649178624_o
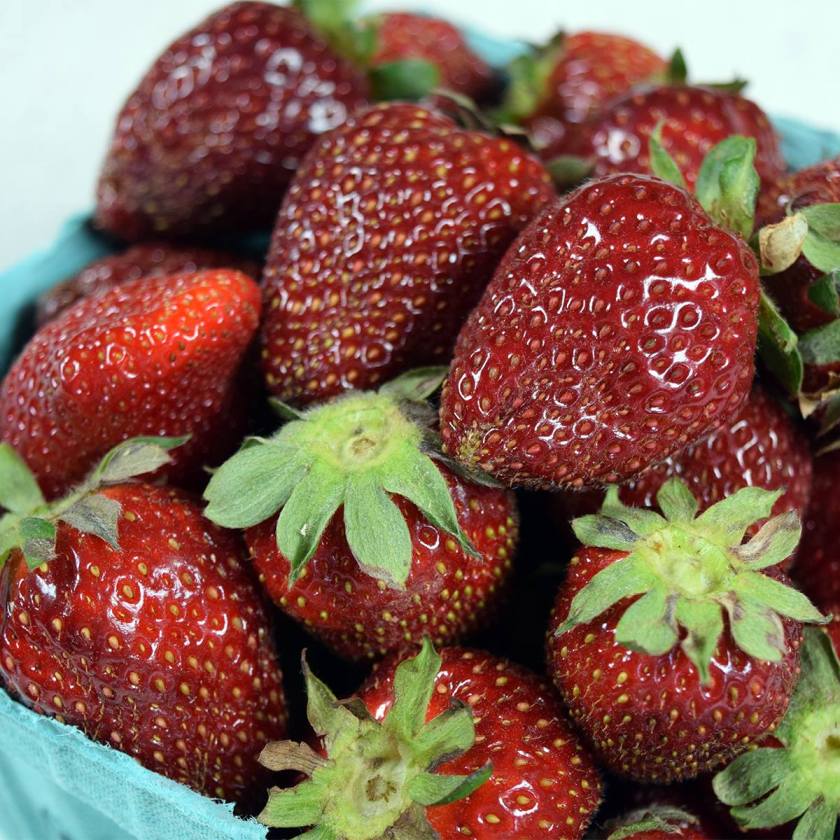
Last week the first NJ strawberries of the season made their debut!  Fresh, firm, and even a little sweet.  What a wonderful gift after the long winter and slow beginning to Spring.

At first my husband and I simply ate them.  Cleaned and plain.  They were delicious.  So fresh and new.  But, as usual, I bought a few more than we could eat in one sitting. They are delicate and need to be eaten soon after purchase.  And, we were out of ice cream!

What do do?

Strawberry cheesecake stuffed French toast!  Quick, easy, and my grandsons were available as lunch time tasters (don’t limit yourself…this is delicious for breakfast, lunch, or dinner!)


Ingredients to make 2 sandwiches (expand …double, triple.. as you wish):
1 cup cleaned and diced strawberries
1/2 teaspoon sugar
1/4 cup whipped cream cheese
2 tablespoons powdered sugar
sliced bread
butter
2 eggs (optional:  add 1/8 cup milk, 1/4 teaspoon vanilla extract, and/or 1/8 teaspoon cinnamon…add any or all of these options to the eggs….better yet, call your Mom, ask her what she added….then invite her over for brunch…moms love impromptu brunch!).

Directions:

Make the strawberry cheesecake filling by combining the strawberries and sugar in a small bowl….set aside to draw out the sweetness and juice of the berries..BUT if your berries are very sweet…skip the sugar in this step).  Then in a small bowl mix the whipped cream cheese and powdered sugar.  Fold in 1/2 cup of strawberries.

Make the stuffed French toast by spreading the cream cheese mixture onto a slice of bread.  Place another slice of bread on top, pressing down to make a sandwich.  Repeat until all the stuffed French toasts have been made.  Remember the measurements above make two.

In a shallow bowl, beat eggs.  Place stuffed French toasts into the eggs (or egg mixture).  Carefully flip over so both sides get coated with eggs.

Melt about one tablespoon of butter in a sauté pan over medium heat.  Place dipped French toasts in the saute’ pan and fry lightly in the melted butter until lightly golden.

Spoon remaining strawberries on top of each French toast…serve with maple syrup or whipped cream.

By the way…grandsons and daughter loved them!


Strawberries from Fruitwood Farms and Muth Organic Farm
Bread from Amber Grains and Wildflower Bakery
Butter from Hillacres Pride

Asparagus!

It’s early May in the Mid-Atlantic.  We’ve had an unusual winter that has caused a slow start in the growing season here in the Garden State.  While my weekly trip to the Collingswood Farmers’ Market had less variety than I hoped for I still filled the back of my car and had many delightful meals from the early vegetables.

Seasonal is the key concept here.  While all of the farmers would love to sell us everything we dream of… if we want NJ Fresh produce (and not southern US) we’re going to have to be patient. Corn, field grown tomatoes, zucchini, eggplant will appear, but much later in the summer.

According to information provided by seasonalfoodguide.org in EARLY MAY (with a normal Spring warmup) we can expect to find: arugula, ASPARAGUS, chard, chives, garlic scapes, green onions, mushrooms, parsnips, radishes, rhubarb, and spinach.  In LATE MAY we can add lettuces, peas, and strawberries to the list.

Last week we were welcomed to the market with loads of asparagus!

Little story here.  My father was one of eight children born very close together.  He was born in 1925.  Long time ago.  Periodically my father and chosen sibling(s) were sent to stay with their grandmother.  She was a strong but tiny woman.  She grew much of her own food and cooked it all herself.  As my father (and siblings) was fond of telling us….when a vegetable was in season that was what you ate.  So if corn was in season you had corn fritters, corn on the cob, corn bread….you get the picture.

So…in honor of my great grandmother.  Asparagus!

Asparagus, Mushroom, and Chicken Stir Fry

Ingredients:
8 ounces of skinless, boneless chicken breast
1/4 tsp. salt.
1 tsp. cornstarch

4 baby bella mushrooms
bunch of asparagus
1 Tbsp. soy sauce
4 tsps. vegetable oil
2 garlic cloves
1/2 cup chicken broth
2 tsps. corn starch
2 tsps. water

Directions:
1.  Cut the chicken into 2 x 1/4 inch slices.  In a bowl, mix the salt and 1 teaspoon cornstarch.  Stir in the chicken.  Set aside.  This can be done in the morning and refrigerated until ready for dinner.  Be sure to pull the chicken out of the refrigerator about 30 minutes before using in the stir fry.IMG_8026

2.  Cut off and discard the stems from the mushrooms.  Cut into 1/2 inch strips.

3.  Break of cut off the tough end of the asparagus spears.  (The asparagus I used was extremely thin.  If you do not have thin asparagus you can slice the asparagus diagonally into 2-inch pieces).

4.  In a small bowl, mix 2 teaspoons water and two teaspoons cornstarch.

5.  Line up all your ingredients so they are readily available for quick use.  Stir fries are quick!

6. Heat a wok or large frying pan (non-stick in fine) over high heat.  Add the vegetable oil and chicken and cook and stir until the chicken turns white, about 3 minutes.  Remove chicken to another bowl.

7.  Add the garlic (you will remove the cloves of garlic before serving), mushrooms, and asparagus and stir fry for about 2 minutes (until the asparagus is the crispness you like).IMG_8049

8. Put the chicken back into the wok or large frying pan.  Add the chicken broth. Cover and cook for 1 minute.

9. Stir in the cornstarch mixture.  Cook and stir until thickened.

10.  Add the soy sauce and stir fry for about 30 seconds.

11.  Remove the garlic cloves.  Put the chicken and vegetables  in a bowl or platter, serve, and eat.IMG_8057


Oven Roasted Asparagus

Ingredients:
bunch of asparagus
olive oil
salt
grated parmesan cheese

Directions:
1. Cut (or break off) the tough ends of the asparagus.
2. Soak asparagus in water for about 30 minutes, then rinse, and drain in a colander.
3.  Line up your asparagus spears on a foil lined rimmed baking sheet.


4.  Spring with olive oil.
5.  Put in the tray in the oven and roast the asparagus about 30 minutes in a 350 degree oven.  Watch their progress and decide how crispy you want your spears.
6.  Take tray out of the oven.  Put spears on a plate.  Sprinkle with salt and grated parmesan cheese. Serve.IMG_8065


Braised Asparagus

Ingredients:
bunch of asparagus
butter
water
salt

Directions:
1. Cut (or break off) the tough ends of the asparagus.
2. Soak asparagus in water for about 30 minutes, then rinse, and drain in a colander.
3.  Melt a small pat of butter in a skillet.  Put cleaned asparagus in the melted butter in the pan and allow to cook for about 2 minutes.


4.  Drop another 2 tablespoons of butter into the pan with the asparagus.  Add 1/2 cup water to the pan.  Put on a lid.

Let cook with a lid for about 10 to 15 minutes.  You will see steam coming out of the pan.  When you can clearly smell asparagus (don’t let it burn),,,remove the lid.  Stick a fork in one of the asparagus spears.  It should go in easily.  Lower or turn off the heat under the pan and let some of the liquid boil off.  Serve.

IMG_8092

Where in the market?
asparagus purchased from Les Viereck Farm, Springdale Farm, A.T. Buzby Farm
chicken breast purchased from Hillacres Pride
mushrooms purchased from Davidson’s Exotic Mushrooms


And any leftover asparagus can be added to a quiche or omelet.  My great grandmother would be proud!

Farm fresh produce is wonderful if we have the patience to wait for it to come in its own time.  Some years the strawberries are early and sweet….and some years the broccoli is late and small.  Waiting is all.


” Earth has to be ground up before the food can grow.”

-Sigrid Undset, from KRISTIN LAVRANSDATTER